Beginners often accumulate pans of several materials without a clear system for where each one belongs or how it should be treated after use. Sorting first by how frequently each piece is needed helps keep the most common items accessible while protecting less-used pieces from unnecessary handling.
Once the collection is grouped this way, daily routines become simpler because storage locations already match the care requirements of stainless steel, cast iron, non-stick and enamel surfaces. The following sections outline the steps to set up such a system and maintain it without extra equipment or specialised knowledge.
Listing every pan and noting typical weekly use
Start by emptying the cupboard or drawer that holds the cookware. Write down each pan, its material and the meals it is used for in an average week. This list reveals which items are handled daily and which sit for longer periods.
Place the daily-use pans in one pile and the occasional pans in another. Check the manufacturer’s instructions that came with each piece for any storage or cleaning limits, such as maximum oven temperatures or stacking restrictions. Keep these notes with the list so they are available when deciding final positions.
Choosing storage spots that reduce surface contact
Daily-use pans benefit from open hooks or the front of a shelf so they can be reached without moving other items. Occasional pans can go deeper or higher once they are protected. Between pans of different materials, insert a folded tea towel or a sheet of kitchen paper to prevent scratches on stainless or enamel finishes.
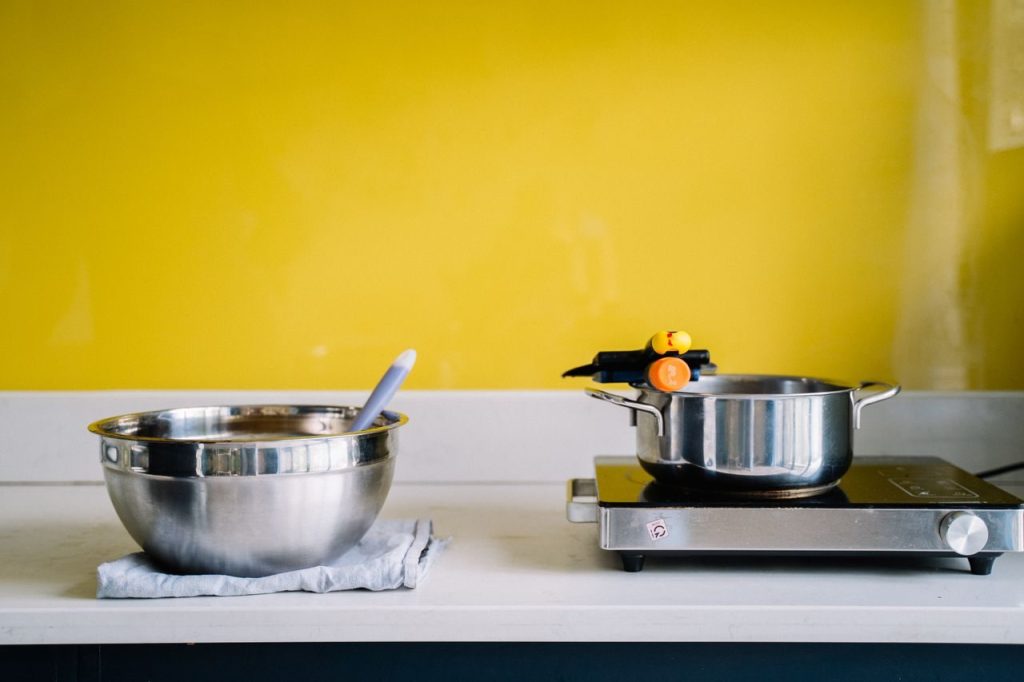
Cast-iron pieces need a dry location with air circulation; avoid sealed plastic boxes that trap moisture. Non-stick surfaces should not rest directly on metal edges, so a soft divider or vertical slot works better than flat stacking. Glass or metal lids can be stored separately on a narrow rack so they do not press on the pan interior.
Daily care sequence after each use
After cooking, allow the pan to cool on the hob before moving it. Wipe stainless and non-stick pans with hot water and a soft brush while they are still slightly warm; this removes most residues without soaking. Cast iron requires immediate drying over low heat followed by a thin oil layer if the surface looks dry.
Enamelled pieces can be washed with washing-up liquid once cool, but avoid abrasive pads that dull the finish. Return each pan to its assigned spot the same day so the system stays consistent. If a pan has been used for acidic foods, check stainless or enamel for any discolouration before storage and treat it according to the maker’s guidance.
Weekly review for items that have not been used
Once a week, open the storage area and check the occasional-use pans. Confirm that lids still fit and that no moisture has collected inside cast-iron or carbon-steel pieces. Rotate their position slightly so the same surface is not always resting against a divider.
This quick check also shows whether any pan has developed a loose handle or visible damage. If a handle wobbles, stop using that piece until it is repaired or replaced, following the manufacturer’s advice on spare parts.
Adjusting the system when new pans arrive
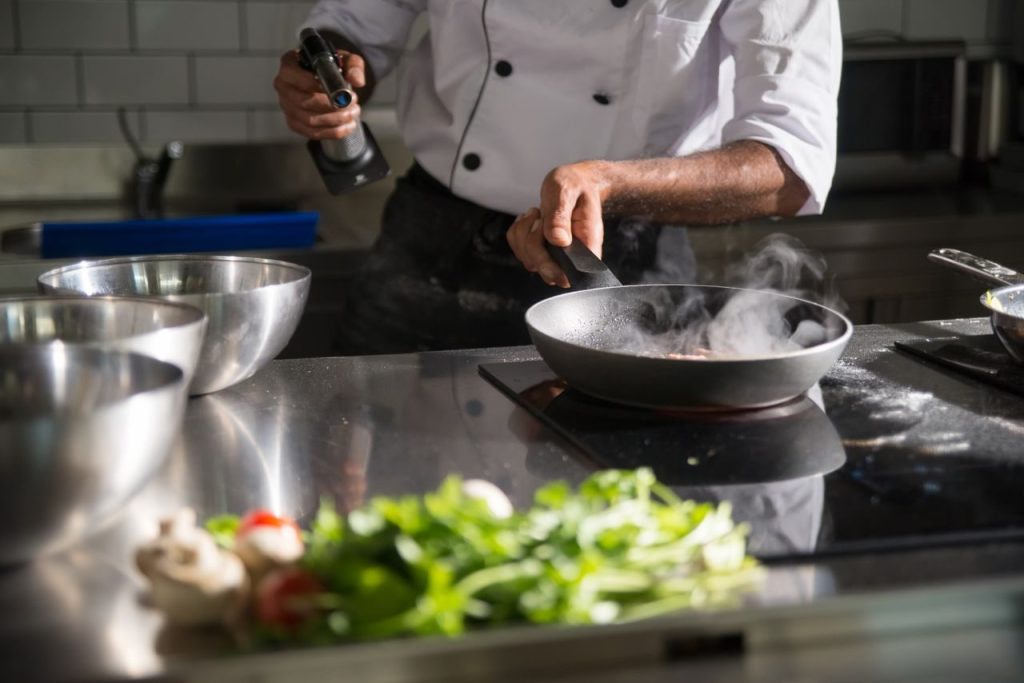
When a new pan is added, repeat the frequency assessment before assigning it a permanent place. A new non-stick frying pan intended for eggs every morning goes with the daily group; a large stockpot used only for batch cooking moves to the occasional section. Update the written list so the cupboard layout remains logical.
Check the new pan’s base compatibility with the hob type and any stated care limits, such as whether it can go in the dishwasher. Adjust dividers or hooks if the new size changes how existing pans fit together.
Common mistakes that undo the organisation
One frequent error is returning a still-damp pan to storage, which can cause rust on cast iron or water spots on stainless. Another is stacking pans of unequal weight so that a heavy item rests on a lighter non-stick surface. Both problems are avoided by following the same drying and divider steps every time.
Beginners sometimes place lids on top of pans in a single stack, making it hard to remove one without disturbing others. Separate lid storage prevents this and also reduces the chance of chipping enamel edges during retrieval.
Keeping the system sustainable over months
Review the frequency list every three months and move any pan whose use pattern has changed. A pan that was occasional may become daily after a change in meal habits, so its storage spot should move closer to hand. Conversely, a daily pan that is no longer needed can be moved back.
The written list and the physical layout together form a simple reference that does not require extra tools or time. Consistent placement and material-appropriate drying keep the cookware ready for use while preventing avoidable damage.