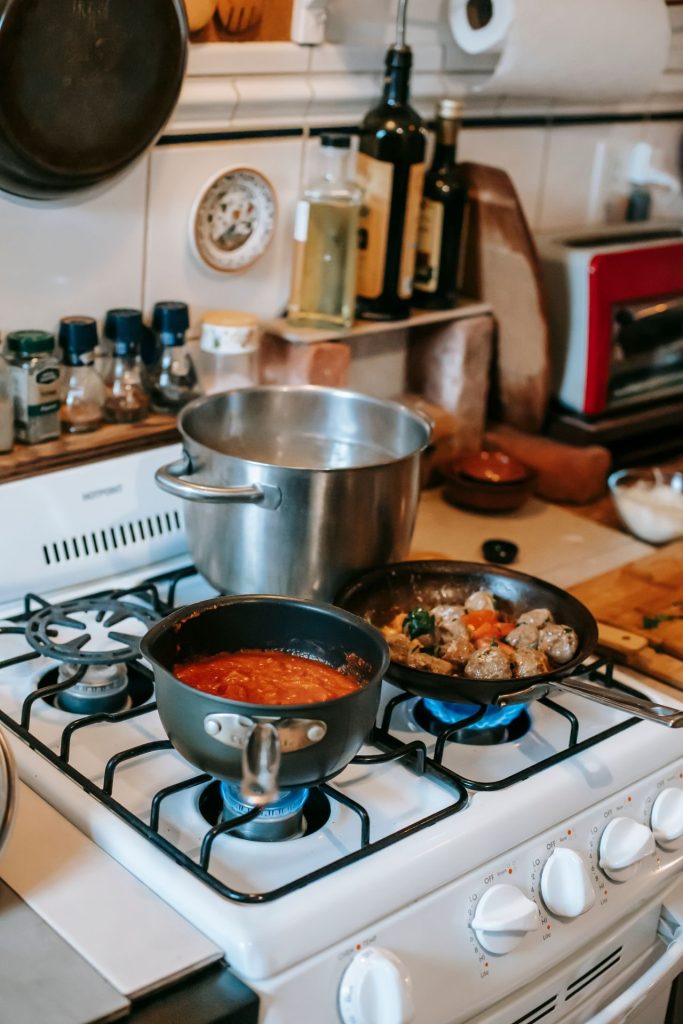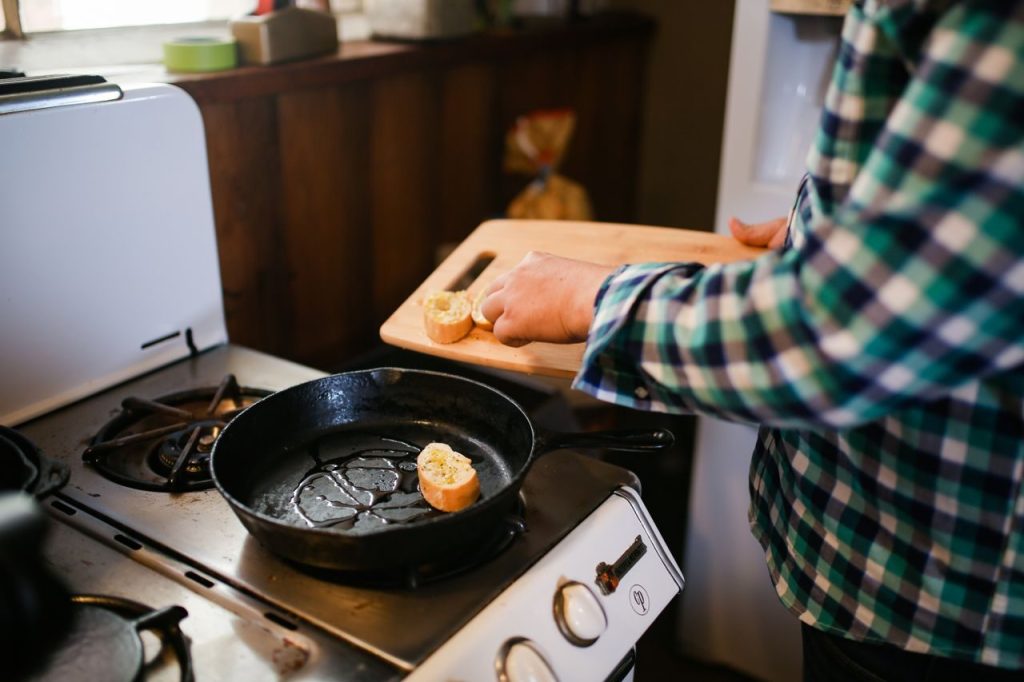
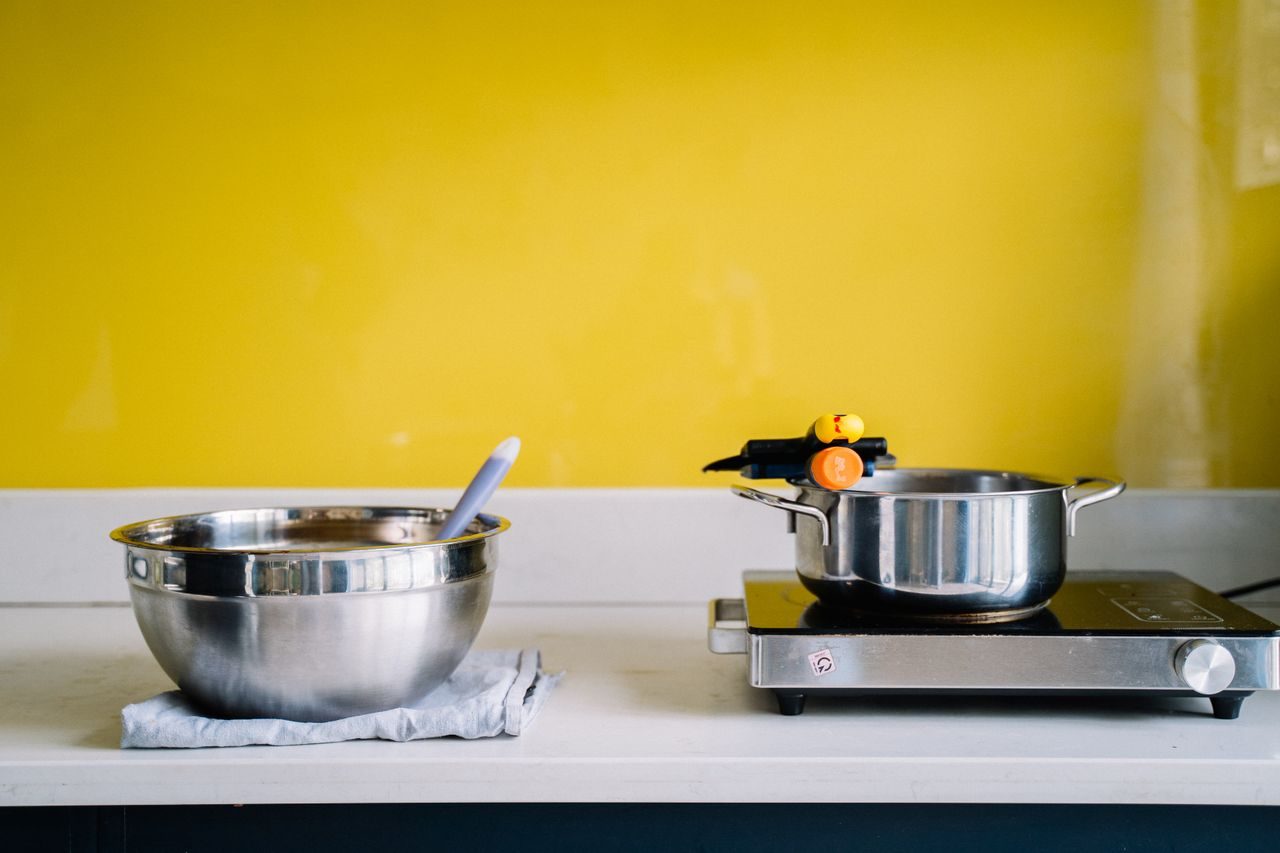
After an ordinary evening meal, the sequence of washing, drying and returning pans to their places determines how long each piece stays serviceable. A short checklist that groups tasks by material prevents the common problem of one pan’s residue affecting another or of moisture trapped in a stack causing spots or warping.
The checklist below follows the order most households actually follow: finish cooking, clear the hob, wash, dry and store. It separates steps that apply to every material from those that apply only to one, so the routine remains quick yet complete.
Clear the hob and allow initial cooling
Move each pan to a heat-proof surface as soon as the meal is served. Cast-iron and carbon-steel pieces retain heat longer than aluminium or stainless, so they need an extra five to ten minutes before any contact with water. Placing a folded tea towel under the base stops the pan from marking the worktop while it cools.
During this interval, collect lids and any silicone or wooden handles that were removed for hob use. Keeping these items together avoids the later search that often leads to lids being stacked directly on pans, which can trap steam.
Wash in material order
Begin with stainless-steel and clad pans. Their surfaces tolerate warmer water and standard washing-up liquid without risk of damage. Rinse thoroughly so no detergent film remains; this film can discolour over repeated cycles.
Next wash non-stick and ceramic-coated pieces. Use only the soft side of a sponge and water that is hot but not boiling. Abrasive pads remove the coating over time, so reserve them for the exterior base only when burnt-on residue is present.
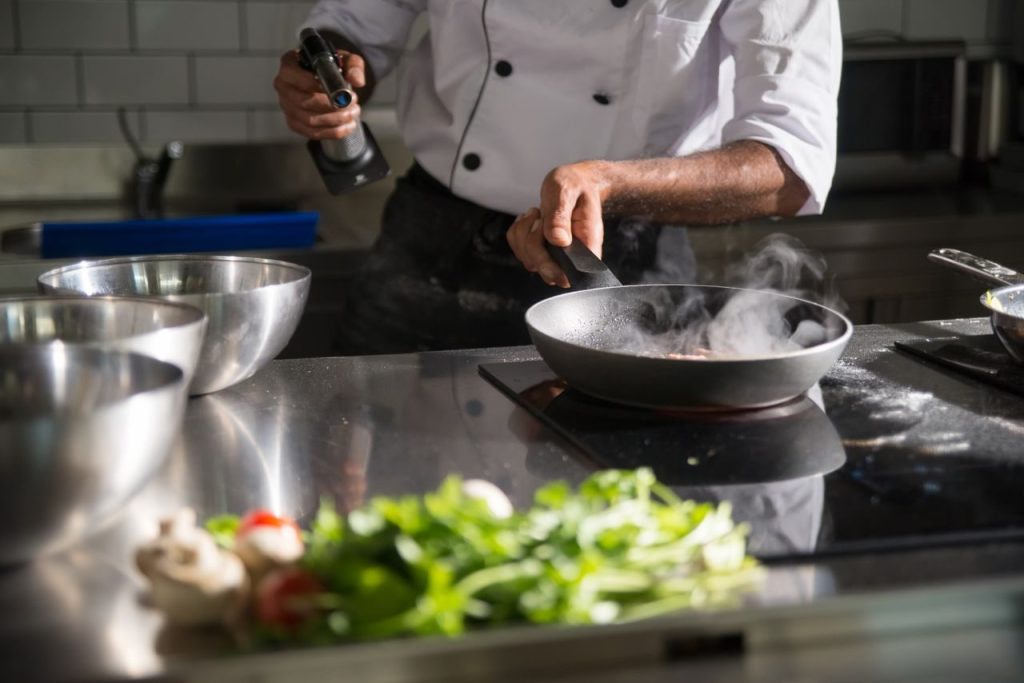
Finish with cast iron or carbon steel. These require the least water possible. A quick rinse under hot running water followed by immediate drying prevents flash rust. Never leave them to soak with other items.
Drying steps that differ by material
Stainless steel can be towel-dried or left to air-dry on a rack provided the rack allows air to reach the base. Any remaining water spots are cosmetic and can be removed later with a vinegar wipe if desired.
Non-stick and ceramic surfaces must be dried immediately with a clean towel. Standing water left in the centre of the pan can create rings that are difficult to remove without scrubbing. Store these pans only when completely dry to the touch.
Cast iron and carbon steel need heat to finish drying. After the brief rinse, place the pan over low heat on the hob for two to three minutes. A light coating of oil applied while the pan is still warm completes the step and protects the seasoning. The pan is ready for storage once it returns to room temperature.
Choosing positions inside the cupboard
Place the heaviest cast-iron pieces on the bottom shelf so their weight does not rest on lighter pans. Line the shelf with a thin silicone mat or a folded tea towel to reduce direct metal-to-metal contact.
Stack stainless pans by size, nesting smaller ones inside larger ones only when their bases are completely dry and free of grit. Insert a folded cloth or a pan protector between each piece.
Keep non-stick pans separate from everything else. Even a single scratch from a stainless rim can shorten their useful life. If cupboard space is tight, hang them from hooks or store them vertically in a rack designed for plates.
Weekly quick checks
Once a week, before the next round of cooking, run through three checks that take less than two minutes. First, test that every handle is still tight by giving each a gentle twist; loose rivets or screws should be tightened before the next use. Second, look at the base of pans used on ceramic or induction hobs for flatness; a warped base shows uneven colour or a rocking motion on a flat surface. Third, confirm that no pan has been left with food residue on the exterior; such residue can transfer to the cupboard shelf and affect other items.
These checks fit naturally into the same cupboard visit used for retrieving pans for the next meal, so no extra time block is required.
Adjusting the checklist for small kitchens
When storage space is limited to one cupboard, the same material order still applies but the physical positions must be planned in advance. Assign the bottom shelf to cast iron, the middle to stainless and the top or a hanging rail to non-stick. Label the shelves with small adhesive dots if more than one person uses the kitchen; the dots serve as a reminder rather than a strict rule.
Lids can be stored upright in a narrow basket or on a door-mounted rack. This keeps them from resting on pan surfaces and makes selection faster than digging through a stack.
Record the routine once
Write the short sequence on a card and tape it inside the cupboard door. The card lists only the material order and the key drying action for each, so new household members or occasional cooks follow the same steps without needing to remember details. After a few weeks the sequence becomes automatic and the card can be removed.