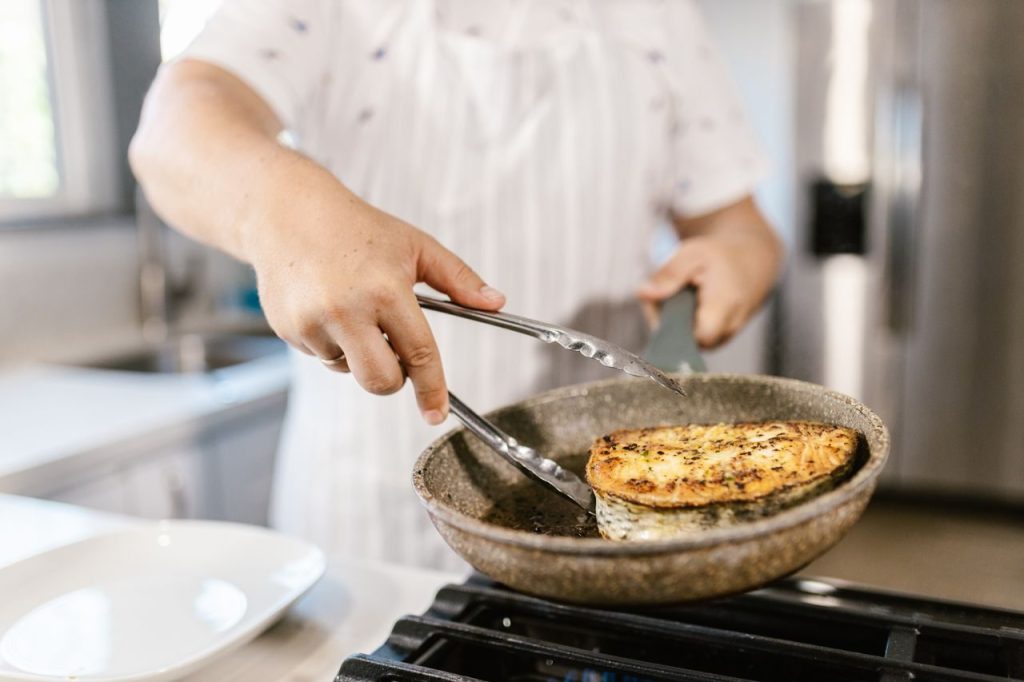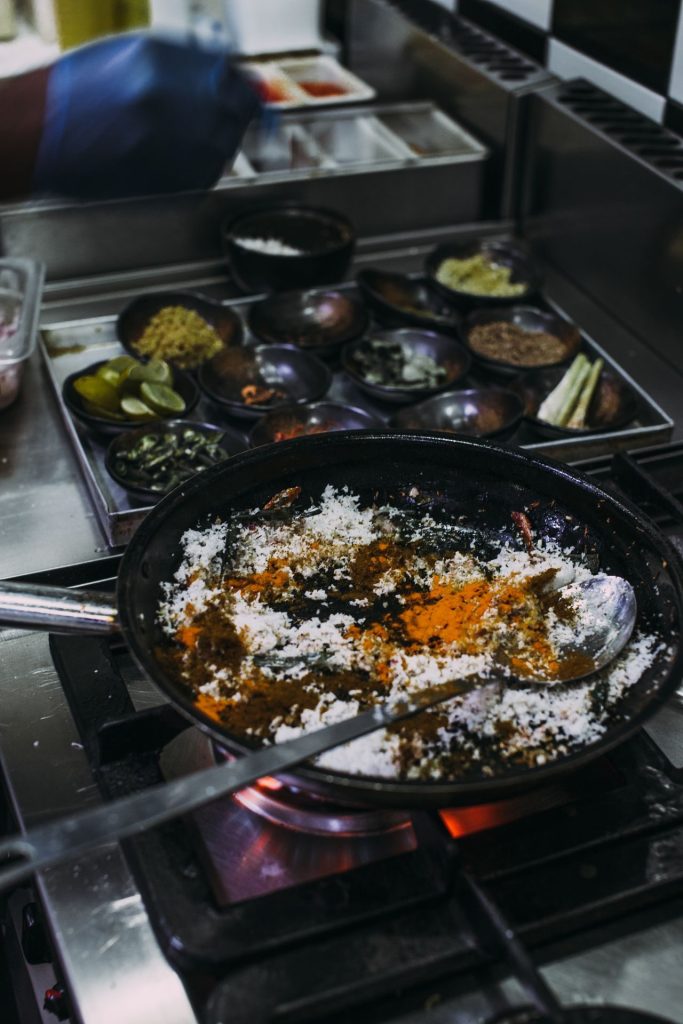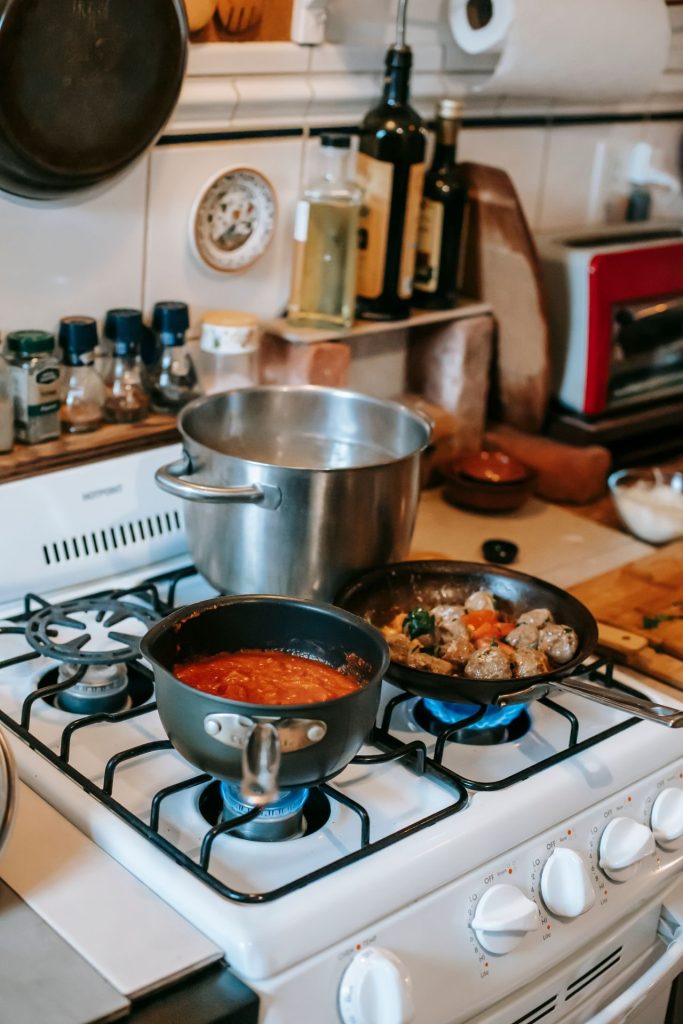
Organising cookware by material in a compact cupboard begins with a clear separation of pieces according to their construction. Stainless steel, cast iron, non-stick and copper each respond differently to moisture, weight and contact, so grouping them prevents avoidable damage during storage. The process takes only a few minutes after each wash once the habit is established.
Readers who keep a mixed collection often find that one or two small adjustments to drying order and shelf placement remove most of the daily friction. The following sections set out the practical sequence, the reasons behind each step and the checks that keep the system working when space is limited.
Sorting items by material before any placement
Clear the work surface and divide the clean, dry pieces into four groups: stainless steel, cast iron, non-stick coated and copper or lined copper. Read the base stamp or interior marking on each pan to confirm the material before moving it. Stainless steel pans may touch other stainless pieces when completely dry, yet they should never rest directly on cast iron because the harder edge can mark the seasoning. Cast iron must remain isolated from all other metals to protect its surface from scratches that later become rust spots. Non-stick pans require individual slots or soft separators because any metal contact removes the coating over time. Copper pieces need padding from both stainless and cast iron to avoid galvanic discolouration if slight moisture remains. Once the groups are formed, count the pieces in each category and note which items are used most often; these will later occupy the most accessible shelf positions. This initial sort reveals whether the cupboard can accommodate the collection without forcing dissimilar metals together.
After the groups are ready, measure the height and diameter of the largest item in each material. Compare these dimensions against the available shelf depths and heights. If a cast iron Dutch oven is taller than the gap above the lower shelf, it must stay on the bottom level. Stainless steel saucepans that nest neatly can share a single shelf provided lids are stored elsewhere. Non-stick frying pans rarely nest safely, so they usually need vertical storage. Copper sauté pans are often wider than standard shelves allow, requiring them to lie flat rather than stand on edge. Recording these measurements once prevents repeated trial and error every time the cupboard is restocked. The sorting step therefore serves both immediate protection and long-term space planning.
Drying routines matched to each material
Stainless steel tolerates air drying on a rack, yet water spots left on the base can transfer to cupboard shelves over weeks. After the final rinse, stand each piece upright for ten minutes so most water drains from handles and rims. Then wipe the interior and exterior with a clean tea towel before returning it to its group. This two-stage drying keeps the cupboard interior drier and reduces the chance of musty smells in a tightly closed space. Cast iron, by contrast, must be dried while still warm. Place the pan over the lowest hob heat for two to three minutes after washing, or dry it thoroughly with a dedicated cloth kept only for this purpose. Any residual moisture will oxidise the iron within hours, producing rust that requires immediate re-seasoning. Non-stick surfaces should never be left wet or warm in the same cupboard as metal items; temperature differences can cause condensation that softens the coating edges. Copper benefits from a final pass with a soft, dry cloth to remove water marks that otherwise dull the appearance and may encourage verdigris if humidity rises.
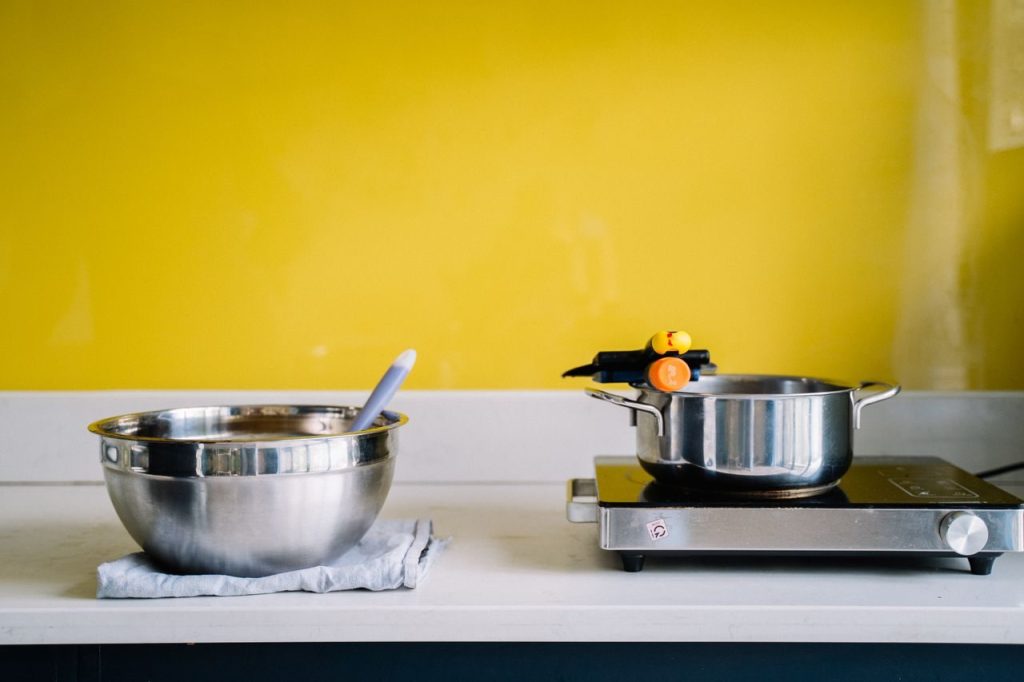
The order of drying follows the material that is least tolerant of moisture. Cast iron is always dried first while the hob is still warm from cooking. Stainless steel follows, using the same towel to avoid introducing new fibres. Non-stick pieces are dried last and placed on a separate rack until completely cool. Copper is polished and set aside until the other groups are stored. This sequence prevents cross-contamination of cloths and ensures each material receives the treatment its surface chemistry requires. In a compact kitchen the same tea towel can serve all groups provided it is changed when visibly damp. Keeping a small stack of cotton cloths near the sink makes the routine faster than searching for a fresh one each time.
Positioning rules inside the cupboard
Place the heaviest cast iron pieces on the lowest shelf where the cupboard frame supports their weight without sagging. Stack stainless steel saucepans by increasing size so each sits inside the next, but leave at least two centimetres of clearance above the top rim for air movement. Non-stick frying pans stand on edge in vertical slots or rest on a folded tea towel that covers the shelf surface. Copper items lie flat, separated from stainless steel by a sheet of acid-free paper or thin cardboard. Lids are never stacked directly on their matching pans; they occupy a separate vertical rack or the inside of the cupboard door if hooks are fitted. This arrangement keeps every material in its own zone while allowing quick retrieval of the pieces used daily.
Shelf depth determines whether pans rest on their bases or stand on edge. Shallow shelves favour vertical storage for frying pans, while deeper shelves accommodate nested saucepans. When two materials must share a shelf, a rigid divider of wood or plastic creates a physical barrier that prevents accidental contact during removal. Labels written on masking tape and stuck to the shelf edge remind household members which zone belongs to which material. The labels are replaced when they become worn rather than left to peel and leave residue on the wood. These positioning rules remain effective only when the cupboard is not overfilled; once more than eighty per cent of shelf space is occupied, the risk of surface damage rises sharply.
Weekly checks that maintain the system
Once a week, remove every item and inspect the contact points between pieces. Look for small scratches on non-stick coatings, rust blooms on cast iron and green spots on copper. Any pan showing damage is set aside until it can be assessed for continued use or replacement. Re-dry cast iron pieces that have collected condensation on their undersides during the week. Check that stainless steel handles remain tight; a loose rivet can scratch neighbouring pans when the stack is lifted. Non-stick pans are examined under bright light for thinning areas near the centre where food release has begun to fail. These checks take less than ten minutes yet catch problems before they affect cooking performance.
The weekly inspection also includes a quick measurement of remaining shelf space. If the gap above a stack has narrowed because new items were added, the arrangement is adjusted before the next cooking session. Condensation marks on the cupboard ceiling or back wall indicate that air circulation is insufficient; adding a small vent or leaving the door ajar for an hour after cooking can correct the humidity. Recording the date of each inspection on a calendar helps maintain consistency when household routines change. Over several months the notes reveal whether certain materials require more frequent attention than others, allowing the storage plan to be refined without guesswork.
Adjusting the layout when new pieces arrive
Measure the new pan’s base diameter, overall height and handle length before attempting to place it. Compare these figures with the current shelf gaps and the dimensions of the largest existing item in the same material group. If the new piece is taller than the space above the cast iron stack, the entire group must be rearranged or the new item assigned to a different shelf. When adding a second non-stick frying pan, decide whether both will stand vertically or whether one will occupy a horizontal position on a higher shelf. Stainless steel additions are usually nested inside the existing graduated set, provided the new diameter fits without forcing the stack wider than the shelf allows. Copper pieces rarely nest, so they often require a dedicated flat area that may displace less frequently used stainless items.
After the new piece is placed, re-evaluate which material group is used most often and move that group to the shelf nearest eye level. Less common items shift to higher or lower positions. The adjustment is recorded on the same note used for weekly checks so that future additions follow the same logic. If the cupboard is already near capacity, the new item may prompt removal of a duplicate or rarely used piece rather than further crowding. This measured approach prevents the gradual loss of accessibility that occurs when pieces are simply pushed into the first available gap.
Handling lids and accessories alongside main pieces
Store lids in a vertical rack mounted on the inside of the cupboard door or on a narrow shelf dedicated to flat items. Metal lids are never placed directly against non-stick interiors because the rim can score the coating even when both are dry. Glass lids require padding on both sides to prevent chips. Wooden spoons, spatulas and silicone tools remain outside the main cupboard in a separate container so they do not trap moisture against metal surfaces. Measuring cups and spoons used during cooking are kept in a drawer rather than returned to the cookware cupboard, reducing the number of small items that can fall between pans and cause scratches.
Where door racks are not feasible, lids can rest on their edges inside a shallow tray on the top shelf. The tray is lined with a non-slip mat so lids do not slide when the door opens. Each lid is returned to the tray immediately after use rather than left on the work surface, maintaining the separation between lid storage and pan storage. This separation also speeds up the next cooking session because the required lid is visible at a glance instead of being buried under stacked pans. Over time the consistent handling of lids and accessories reduces the overall time spent searching and prevents the minor surface damage that accumulates from hurried storage.
Protecting surfaces during everyday access
Reach for items from the front of each shelf rather than sliding pans across one another. When a cast iron piece must be moved, lift it clear of neighbouring stainless steel instead of dragging it sideways. Non-stick pans are removed by grasping the handle only, keeping fingers away from the interior surface. Copper items are lifted with both hands to avoid flexing the thin metal against adjacent pans. These small movements preserve coatings and finishes far longer than random pulling and pushing.
Lighting inside or immediately outside the cupboard helps prevent accidental contact. A battery-operated LED strip on the top shelf edge illuminates the back row without requiring the door to remain open. When the cupboard is opened after cooking, any steam that has entered is allowed to dissipate for thirty seconds before hands reach inside; this reduces the chance of transferring warm moisture onto cool metal surfaces. The same care applies when returning items after washing: each pan is placed rather than dropped into position. Consistent gentle handling turns the storage routine into a simple extension of the cooking process rather than a separate chore that risks damage.