Selecting individual pans requires careful consideration of the cooking methods used in daily routines. This approach ensures that each piece serves a clear purpose without accumulating unused items from a complete set. Beginners benefit from focusing on shapes that align with specific techniques such as searing, simmering or reducing liquids. The process starts with an inventory of frequent meals and proceeds through checks on compatibility and capacity.
Reviewing existing cookware before any new purchase reveals gaps in shape or size that affect meal preparation. A systematic list of routine dishes helps identify whether a wide shallow pan or a deeper straight-sided vessel meets the majority of needs. This method prevents duplication and supports consistent results across different hob types and portion sizes.
Listing the Meals You Cook Most Often
Write down the main dishes prepared during a typical week along with any breakfast items or weekend variations. Include the number of servings and the sequence of steps that involve a pan on the hob. Separate entries into categories such as quick frying, liquid-based simmering and sauce finishing so that repeated actions become visible. This record forms the basis for deciding which shapes appear most frequently and which can be omitted from consideration. Frequency counts also highlight whether one pan can handle multiple roles without compromising technique.
Common errors at this stage include overlooking side dishes that require a second pan or assuming every meal needs the same vessel. Beginners sometimes list only dinner recipes while breakfast routines demand different base diameters and side profiles. Apply the test of whether a dish occurs at least twice weekly before assigning it priority. If a meal involves both browning and later addition of liquid, note the transition point so the chosen shape can accommodate both without overflow or crowding. Adjust the list after two weeks of actual cooking to correct any initial overestimation of variety.
Matching Shape to Technique
A frying pan with a wide base and gently sloped sides allows rapid heat transfer across the food surface during browning and tossing. The open profile also permits easy access for stirring and turning without requiring excessive oil. In contrast, a saucepan with straight sides and a narrower base retains steam and liquid volume during reduction, concentrating flavours over a smaller evaporation area. Choose between these profiles according to whether the dominant step involves surface contact or volume control. Sauté pans offer a compromise with higher sides that still permit initial searing before liquid addition.
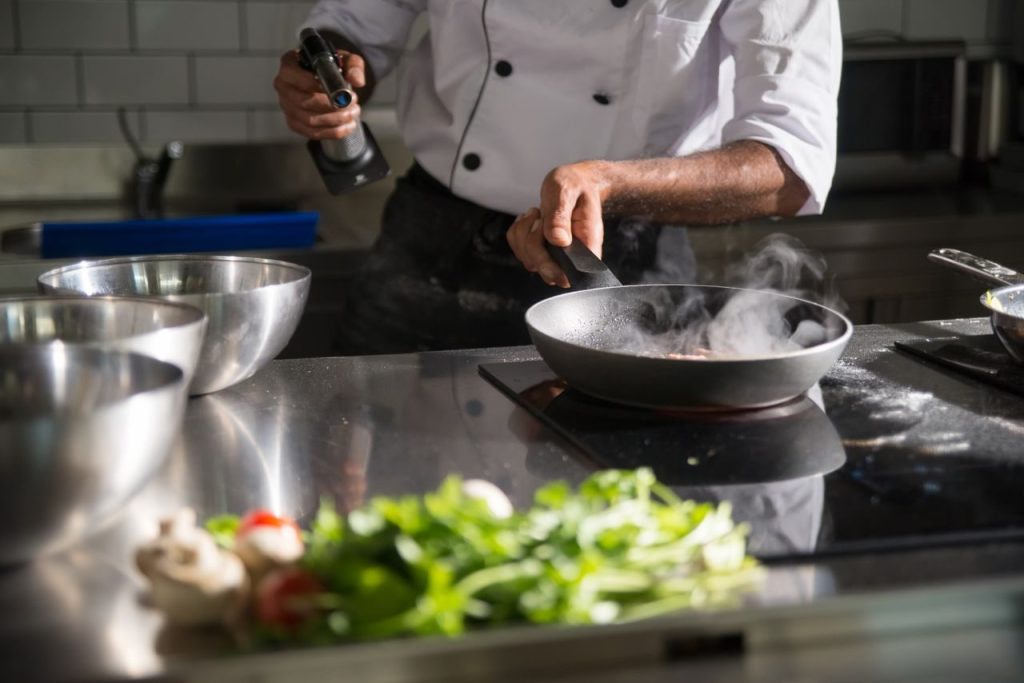
Errors arise when a deep saucepan is used for tasks that require broad surface area, resulting in steaming rather than browning. Conversely, a shallow frying pan overflows when recipes call for more than a thin layer of liquid. Verify the intended technique by checking the recipe method before selecting the pan. If the instructions specify deglazing a wide surface or maintaining a rolling simmer in a confined space, the shape decision follows directly. Test fit by placing the empty pan on the hob and confirming that the base covers the heating zone evenly without excessive overhang on any side.
Checking Hob Compatibility Before Purchase
Measure each hob zone diameter and compare it with the base of any candidate pan. Manufacturer guidance for ceramic and induction surfaces specifies minimum base sizes that maintain stable contact and prevent energy waste. Flatness of the base must remain consistent after repeated heating cycles, particularly for stainless steel with encapsulated discs. Cast iron and carbon steel require seasoning according to the care leaflet supplied with the item and should never be placed on a hob that exceeds the material temperature limit stated in the manual.
Induction users need to confirm that the base contains sufficient ferrous material for detection by the hob sensor. A simple magnet test on the centre of the base provides an initial indication, though full contact area matters more than a small magnetic spot. Common mistakes include purchasing a pan sized for a larger commercial hob or ignoring the difference between gas burner diameter and electric zone size. Always cross-reference the appliance manual with the cookware specifications before final selection to avoid uneven heating or automatic shut-off on induction models.
Assessing Capacity Against Portion Sizes
Fill a measuring jug to the volume that matches usual serving numbers and pour the water into candidate pans to observe the fill level. The liquid should sit below half the side height during simmering to allow room for expansion and stirring. This check prevents boil-over on unattended hobs and confirms that the chosen shape matches the recipe scale. Overfilled pans also alter heat distribution because the base area becomes proportionally smaller relative to the contents.
Portion misjudgement leads to either overcrowding, which causes steaming instead of browning, or excessive headspace that slows temperature recovery. Apply the same water test to existing pans before deciding whether a new shape is required. If a pan already holds the required volume comfortably, consider whether its side profile suits the cooking method rather than buying a duplicate. Record the measured capacity on a note kept near the cupboard so future meal planning references actual rather than assumed volumes.
Considering Lid Fit and Oven Use
Examine the lid handle and knob materials against the oven temperatures listed in typical recipes. Glass lids with metal rims carry lower temperature limits than all-metal lids according to manufacturer data. Confirm that both pan and lid carry the oven-safe symbol when recipes require transfer from hob to oven. Non-stick coatings generally lose performance above 200 °C while stainless steel and cast iron tolerate higher settings provided the handle material permits it.
Errors occur when lids are assumed to match the pan temperature rating without checking the printed symbols. A loose-fitting lid allows excessive steam escape during simmering and alters cooking times. Test the seal on the hob before purchase by placing the lid on the pan and observing whether it sits evenly without rocking. Store the lid separately if the knob material cannot withstand oven heat, and use a metal lid or foil cover instead when oven finishing is required.
Storing Individual Pieces Without Damage
Place pans on separate hooks or in divided drawers so bases do not rest directly on other cooking surfaces. Stack only identical materials when protective cloths separate each layer to prevent scratches on non-stick coatings and dents on stainless steel. Vertical lid storage in a rack allows quick retrieval and reduces the chance of lids sliding against interiors. Mixed-material cupboards require padding between items to avoid metal-on-metal contact that removes protective layers or creates visible marks.
Common storage mistakes include nesting pans of different shapes so handles interfere with lid fit or placing heavy cast iron directly on lighter stainless steel. Check the base condition after each storage cycle to confirm flatness remains intact. Rotate items by frequency of use so that less-used shapes occupy less accessible positions without risking damage to daily pieces. Follow manufacturer instructions on avoiding abrasive surfaces during any rearrangement.
Replacing a Pan When Performance Declines
Examine the base for visible warping that prevents steady contact with the hob and creates hot spots. Stainless steel manufacturer guidance often recommends replacement once distortion appears because even heat distribution cannot be restored. Non-stick surfaces showing scratches or loss of release properties should be retired to avoid increased fat use and adhesion. Persistent discolouration on stainless steel can frequently be removed with the recommended cleaner, while deep pitting indicates the end of useful life.
Assess handle security by checking for looseness after cooling cycles, as a loose handle signals that continued use risks failure during lifting. Review the original care instructions supplied with the pan before deciding on replacement rather than attempting repairs. When a pan no longer meets the capacity or shape requirements identified in the initial meal list, retire it and select a new shape that fills the documented gap instead of adding another similar item.