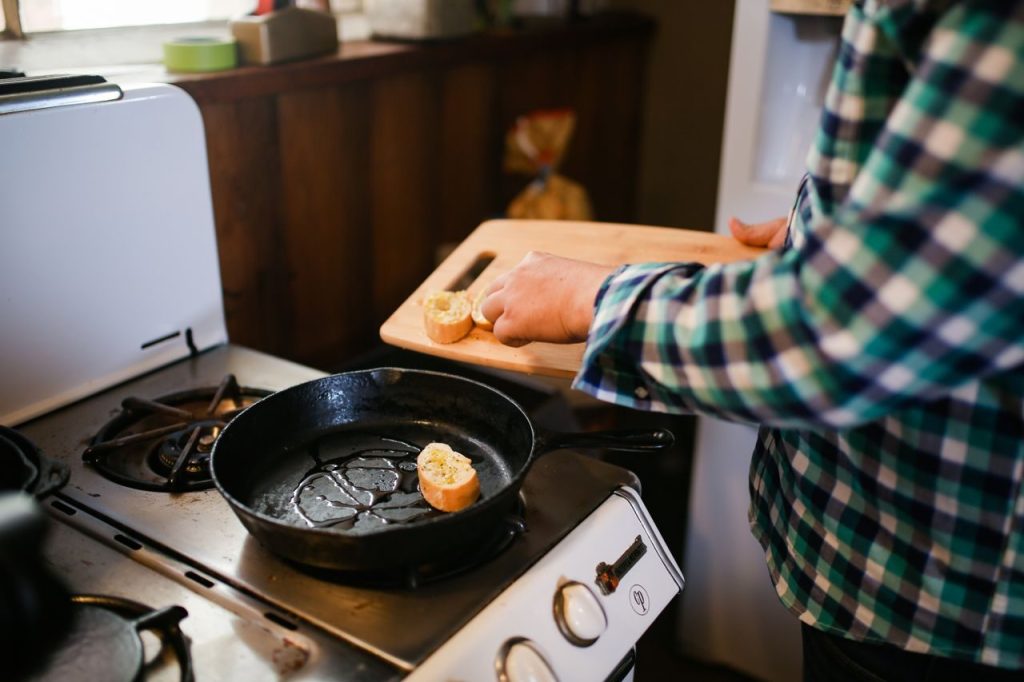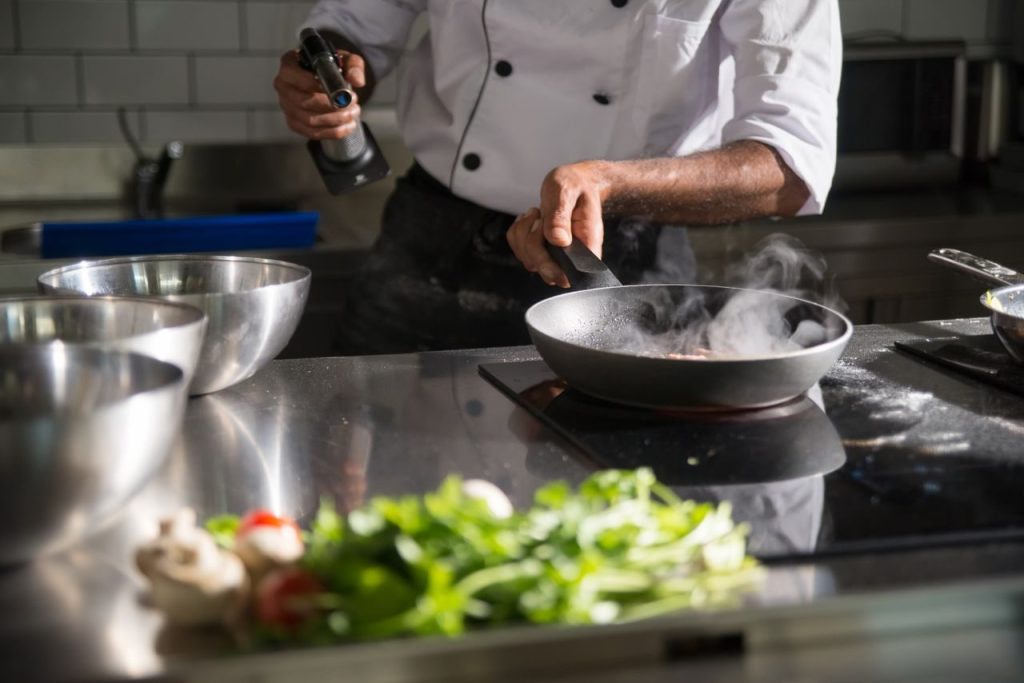
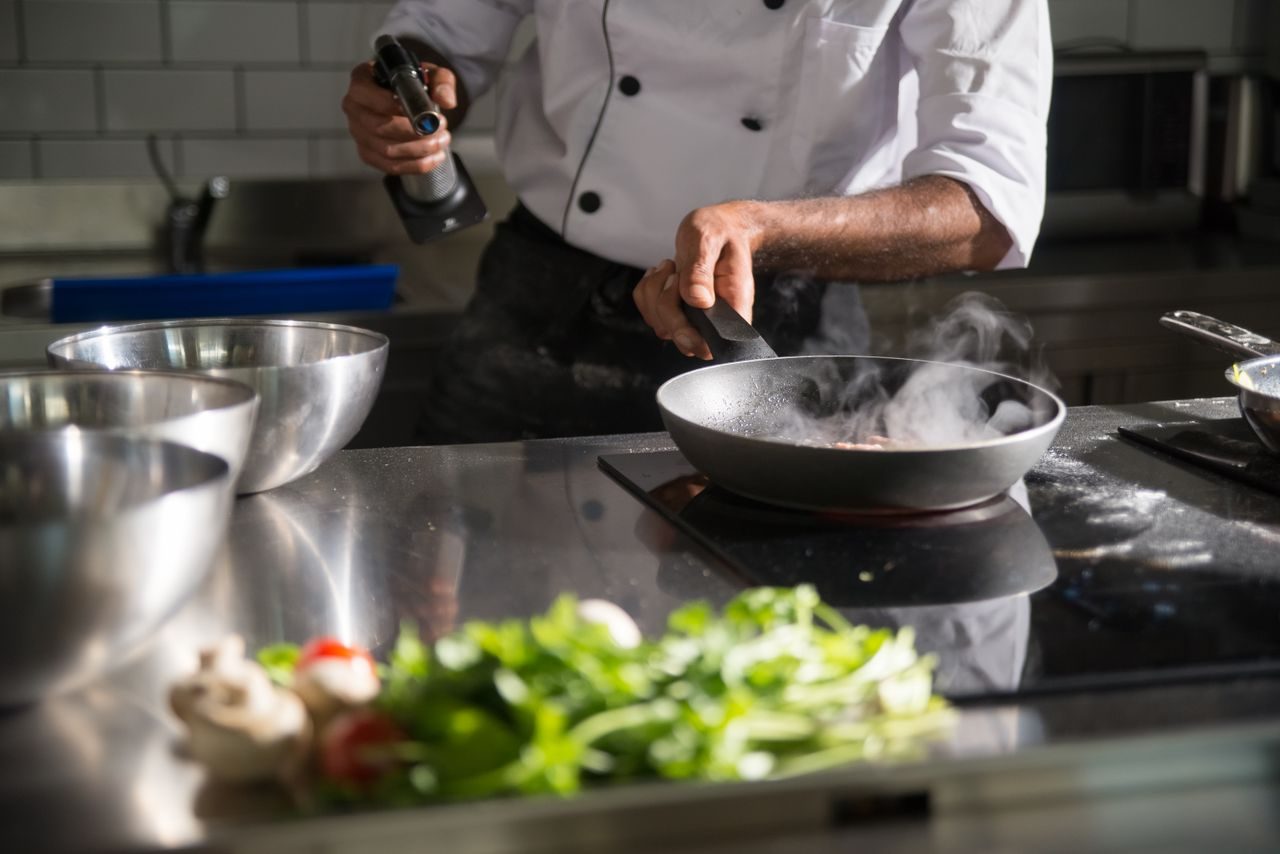
Many households prepare evening meals using only the pans stored in the cupboard. Matching the sequence of tasks to the actual capacities and base diameters of those pans reduces the need for additional equipment while maintaining consistent results. The approach begins with a clear inventory of what is available rather than assumptions about ideal equipment.
Begin by listing the dishes and noting which pan each step requires. This approach keeps preparation focused on available volumes rather than on acquiring new items. Families often discover that a modest rotation of two pans can handle multiple components when steps are ordered with care for heat retention and recovery times.
Listing dish components against pan volumes
Measure the internal depth and diameter of each pan once before planning begins. Record the approximate volume of liquid or food each can hold without risk of boil-over, using simple water tests if needed. Compare these figures directly to the total weight of ingredients for the planned meal so that no single vessel is filled beyond two-thirds capacity during simmering stages. This measurement step prevents overflow and ensures even heat movement through the contents.
Divide the meal into stages that can share the same vessel where possible. For example, sear protein in a wide frying pan, then set it aside on a plate while the same pan accepts vegetables that release moisture. The judgment criterion is whether the remaining space after the first item allows the next ingredient to cook without crowding, which would otherwise trap steam and alter browning. Applicable conditions include meals where components share similar temperature requirements; the boundary appears when acidic ingredients follow searing, as prolonged contact may affect certain pan finishes.
Assigning tasks to hob zones
Check the diameter of each pan base against the marked cooking zones on the hob before switching on any heat. A base that matches or slightly exceeds the zone provides steadier heat without hot spots at the edges. On ceramic or induction surfaces, confirm the zone remains within manufacturer limits for the pan material so that the surface does not experience uneven stress. This matching reduces the chance of warped bases over repeated uses.
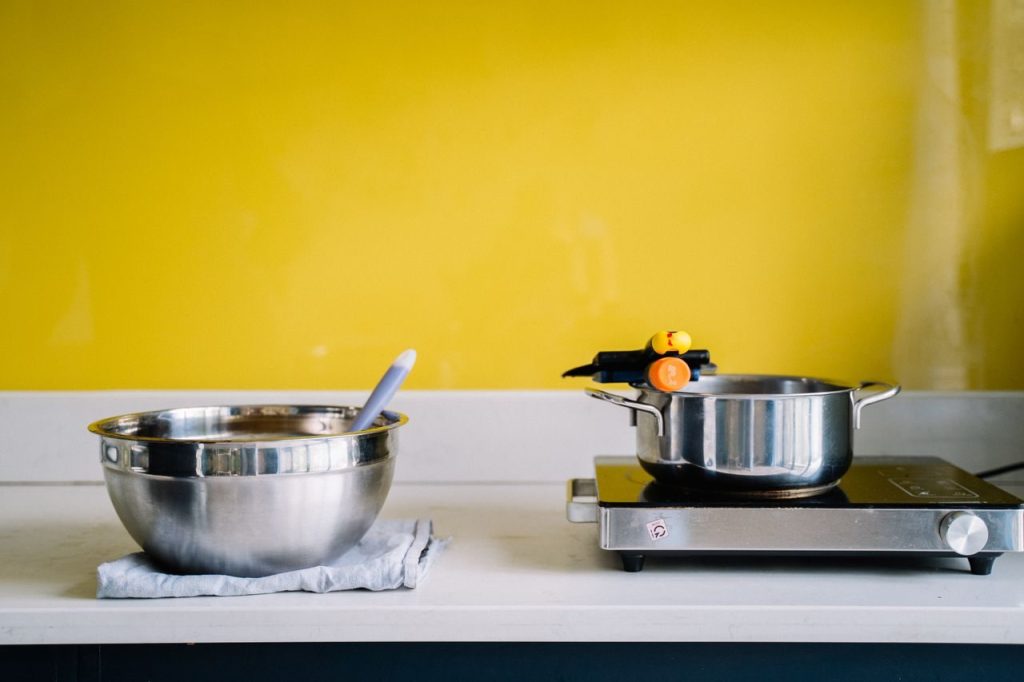
Place the pan requiring the longest cooking time on the zone with the most even output. Reserve smaller zones for brief warming or finishing steps that use residual heat once the main zone is free. Common errors include placing a narrow pan on a wide zone, which wastes energy and creates temperature gradients, or overloading a single zone beyond its rated output. The condition for success is a hob layout where at least two zones can operate independently without shared power limits.
Ordering preparation to respect material recovery
Stainless steel pans cool faster than cast iron after high-heat searing because their lower thermal mass allows quicker temperature drops. Schedule the searing step first, then move to a lower-heat simmering stage in the same pan once the surface temperature has dropped to the required range. Allow time between stages for the pan to reach the next required temperature without forcing rapid changes that can cause sticking or uneven cooking.
Where two pans are in use, alternate active cooking periods so one rests while the other works. This pattern prevents both pans from requiring maximum power simultaneously on a shared hob and respects the different recovery rates of each material. A frequent mistake is switching directly from high sear to low simmer without an intermediate pause, which leaves the pan too hot for delicate items. The method works best when the meal includes one quick high-heat task and one longer gentle task.
Monitoring liquid levels during reduction
Use the side profile of the chosen pan to judge reduction progress at regular intervals. Taller sides contain splatter during vigorous simmering, while shallower sides allow faster evaporation when a sauce needs concentration. Adjust heat downward once visible bubbling slows to avoid scorching the base, checking the level against a marked interior line if the pan has one. This visual check replaces guesswork and keeps the sauce from reducing too far.
Keep a lid available but use it only when steam retention is required for even cooking of vegetables or grains. Removing the lid early in a reduction stage prevents excess condensation from diluting the intended concentration. Applicable when the recipe calls for volume decrease by one-quarter or more; the boundary is reached when the liquid level drops below the food items, risking drying. A common error is leaving the lid on throughout, which traps moisture and lengthens the time needed.
Transferring items between hob and oven stages
Verify that both pan and lid are rated for oven temperatures before moving them from the hob. Manufacturer guidance usually states maximum oven temperatures for each material; follow these limits exactly to avoid damage to handles or coatings. Allow the pan to cool slightly on the hob before transfer so that thermal shock is minimised. This rest period maintains the integrity of the cookware across repeated hob-to-oven cycles.
Confirm the oven rack position allows safe insertion without tilting the pan contents. The method applies when a recipe includes an initial hob sear followed by covered oven finishing; it is not suitable for pans with plastic or wood components. A typical oversight is ignoring lid compatibility, which can lead to warped seals or discoloured surfaces. Always check the manual symbols for oven use before the first attempt with any new combination.
Clearing space for resting and plating
Reserve a heatproof surface near the hob for the first pan once its contents are cooked. This arrangement keeps the second pan on the hob without crowding and allows safe transfer of items between vessels. Prepare a second plate or tray in advance so that resting food does not occupy counter space needed for final assembly. The space plan works when the kitchen layout provides at least one clear, stable area rated for hot cookware.
Portion cooked food promptly into storage containers that fit the refrigerator layout. Follow standard cooling guidance by dividing large quantities into shallow containers so the core temperature drops within recommended time frames set by food safety authorities. A common error is stacking hot pans directly on one another, which traps heat and slows cooling. The sequence succeeds when plating begins only after both pans have completed their active cooking phases.
Reviewing the plan before starting
Run through the sequence once on paper, noting any step that would require both pans at full heat simultaneously. Adjust the order or combine compatible ingredients to resolve conflicts before any heat is applied. The final plan should fit within the physical limits of the two pans and the available hob zones without exceeding safe fill levels or material temperature ratings.
After the meal, note any adjustments needed for the next rotation, such as earlier vegetable prep or a different zone assignment. Small refinements to timing or portion size accumulate into smoother routines over successive weeks. The review step prevents last-minute improvisation that often leads to uneven results or overloaded pans. It applies to any household that repeats similar meal patterns and relies on the same two vessels.