Many cooks begin with a recipe and then try to fit it into whatever pans stand in the cupboard. This order often produces portions that either overflow or leave the pan half empty, both of which affect cooking times and final texture. A more reliable starting point is to note the actual dimensions and volumes of the pans that are already on hand before any shopping list is written.
Errors in this step usually stem from treating every pan as interchangeable or from relying on label markings that do not reflect usable capacity once food is added. The sections below set out the checks that prevent these mismatches during ordinary weeknight cooking.
Measuring usable volume before scaling a recipe
Labelled capacities on pans refer to brim-full volume, yet most recipes require headroom for stirring and bubbling. Fill the pan with water to the level that will be used in cooking and record the millilitres. Repeat for every vessel that will be needed on the same evening. This figure becomes the upper limit when the ingredient list is adjusted.
Recipes written for four servings frequently assume a 3-litre saucepan. If the largest available pan holds only 2 litres at a safe working depth, the quantities of liquid and solid ingredients must be reduced proportionally. Reducing only the meat while leaving the liquid unchanged creates a thin sauce; reducing only the liquid while keeping the meat volume produces overcrowding.
Accounting for pan shape when liquids are involved
Two pans of identical stated capacity can behave differently with the same quantity of sauce. A wide, shallow pan exposes more surface area, so reduction happens faster and the risk of scorching rises if the heat is not lowered promptly. A narrower, taller pan retains steam and may require the lid to be left off for longer to reach the desired consistency.
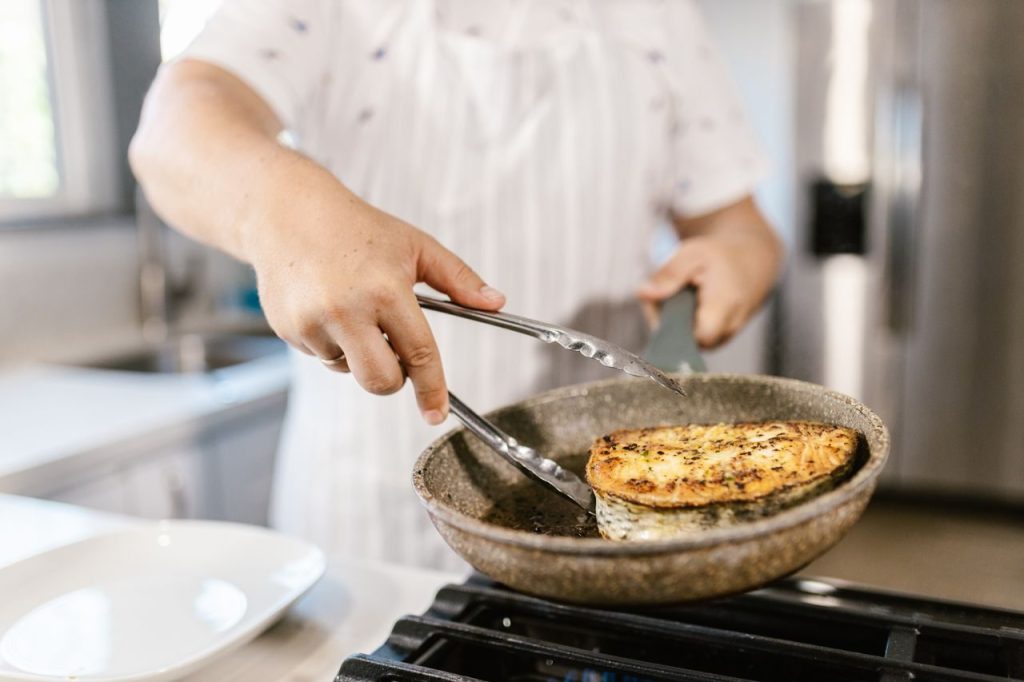
When a recipe calls for simmering an acidic tomato sauce, the material of the pan also matters. Manufacturers state that prolonged contact with high-acid foods should be avoided in uncoated aluminium or cast iron unless the surface is protected by enamel or seasoning. Checking the manual for each pan before choosing it for that step avoids both off-flavours and surface damage.
Sequencing tasks so that one pan can serve two stages
With only two or three pans, the order in which ingredients are cooked determines whether everything finishes at the same time. Begin with the item that takes longest or leaves the pan in a state that can accept the next ingredient without extra washing. For example, brown meat first, remove it, then use the same pan for onions; the fond left behind adds flavour and the pan does not need to be cleaned between steps.
Attempting to cook vegetables that require different heat levels in the same pan at the same time often leads to uneven results. Root vegetables need steady moderate heat while leafy greens wilt quickly at higher heat. Planning separate short bursts in the same pan, with a brief rest on a plate between batches, keeps both textures intact.
Recognising when a recipe cannot be adapted without a different vessel
Some dishes rely on a wide base for evaporation or on deep sides for safe deep-frying. If neither shape exists in the cupboard, forcing the recipe into the nearest available pan changes the outcome enough that it is better to choose a different dish altogether. Checking the hob zone diameter against the pan base before starting also prevents hot spots that lengthen cooking time or burn the food at the edges.
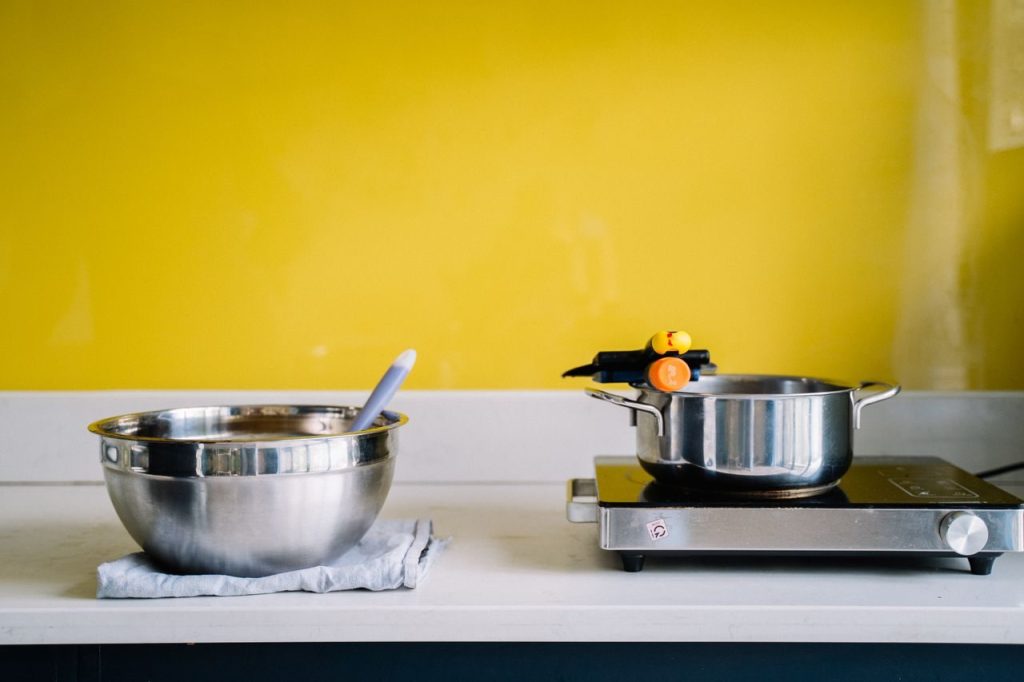
Manufacturers of ceramic and induction hobs publish minimum and maximum base diameters for each zone. Using a pan that is too small on a large zone wastes energy and can overheat the exposed ring; using a pan that is too large prevents the sensor from registering the base correctly. These limits are listed in the appliance manual and should be consulted when deciding which pan to assign to each stage.
Storing prepared components while the next stage finishes
Once quantities are matched to pan size, the practical question becomes where to hold food that has finished cooking while the second pan completes its task. Food-safety guidance recommends keeping hot food above 60 °C or cooling it rapidly to below 5 °C within two hours. A second pan can be used to hold a finished sauce over very low heat, but only if the material tolerates prolonged low-temperature holding without scorching. Stainless steel and cast iron manage this better than thin aluminium.
Cooling cooked food in the original pan on a wire rack allows air to circulate underneath and speeds the drop to safe temperatures. Covering the pan while the contents are still hot traps steam and slows cooling, increasing the time the food spends in the temperature danger zone.
Reviewing the full week rather than one evening
Repeating the same pan for similar tasks on consecutive days can exceed the recovery time some materials need between uses. Cast iron, for instance, benefits from re-seasoning after repeated acidic or high-heat sessions. Planning one lighter meal that uses only stainless or non-stick pans gives the cast-iron piece time to be wiped, dried and stored without surface issues.
Keeping a simple list of which pan was used for which type of dish each evening helps spot patterns before damage appears. The list does not need to be elaborate; noting the main material and the main cooking method is enough to guide the next week’s choices.
Confirming hob compatibility before any heat is applied
Induction hobs require a ferrous base; not every stainless pan meets this test. The manufacturer’s guidance for the hob usually includes a magnet test or a listed compatibility symbol. Running the test once for each pan and marking the result on the base with a permanent marker prevents last-minute discovery that a chosen pan will not heat.
Ceramic hobs require a flat base for even contact. Warped bases, common after repeated high-heat use, create hot spots and lengthen cooking times. Checking the base against a straight edge before the pan is placed on the hob avoids these problems without needing to replace the item.