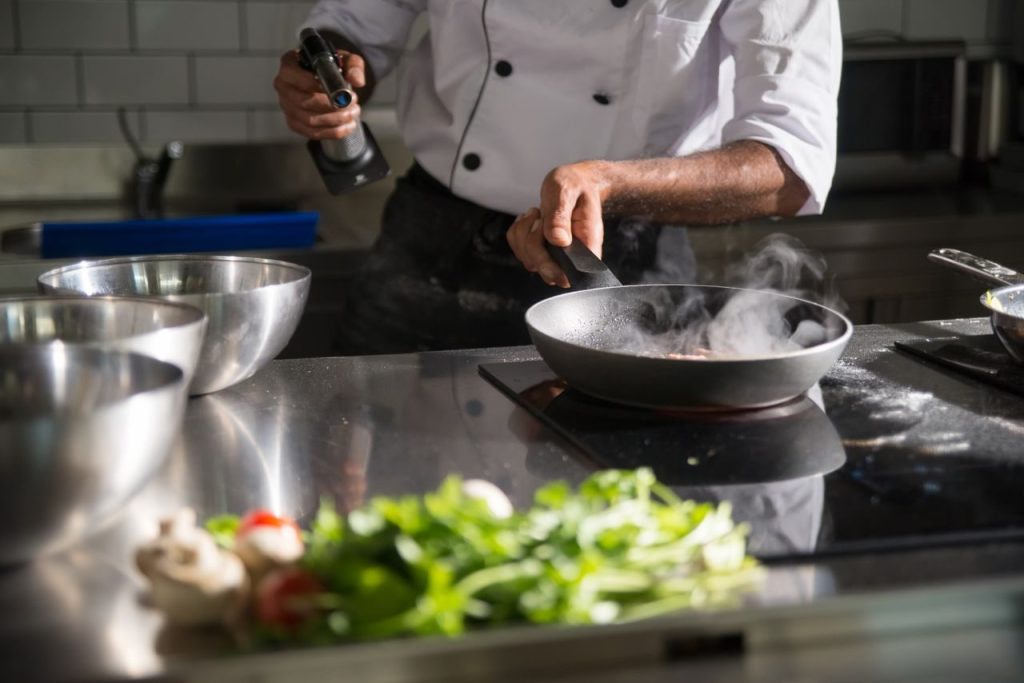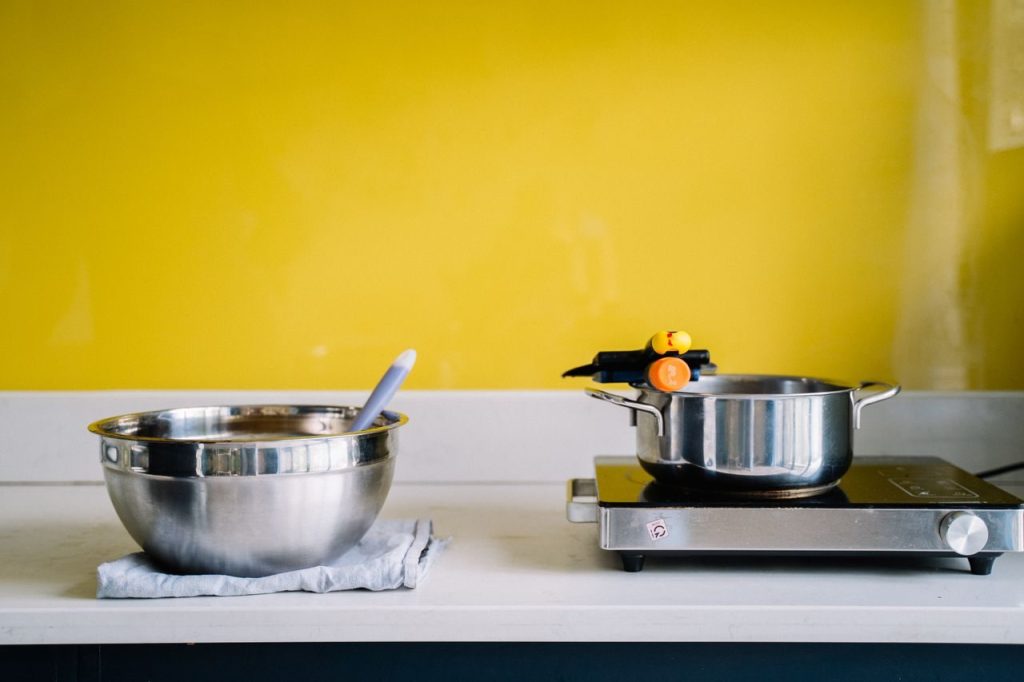
Many cooks notice that a smaller pan on a large ceramic zone takes longer than expected or develops hot patches along the base edges. These outcomes usually trace back to mismatched power settings rather than any fault in the hob itself. Understanding how ceramic hobs transfer heat through direct contact helps correct the problem without guesswork.
Manufacturers specify that ceramic zones respond to the size of the ferromagnetic or flat contact area actually touching the glass. When a pan covers only part of the marked circle, the sensor still reads the full zone size unless the user intervenes. The result is either under-heating in the centre or wasted energy around the uncovered ring.
Reading the zone markings before switching on
Each ceramic hob prints concentric circles or dashed lines to show the minimum and maximum diameters the sensor recognises. Place the pan so its base fully covers the inner ring and sits inside the outer limit. Any overhang beyond the outer line means the sensor may not detect the pan at all, while a pan that sits inside the inner ring receives only reduced power even at the highest setting.
Check the manual for the exact millimetre ranges; they vary between models. A 14 cm saucepan on a zone marked 12–18 cm works correctly, but the same pan on a 21 cm zone often requires manual reduction to the smallest available power step to prevent the outer glass from overheating without contributing to the food.
Choosing the correct power step for diameter
Ceramic controls usually offer nine or more numbered steps. Step 9 delivers full output across the entire zone, while step 4 or 5 restricts output to the inner sensor area on many models. When moving from a 28 cm frying pan to a 16 cm milk pan on the same zone, drop at least three steps immediately after the smaller pan is placed. This prevents the uncovered glass from absorbing excess energy and creating temperature gradients at the pan edge.
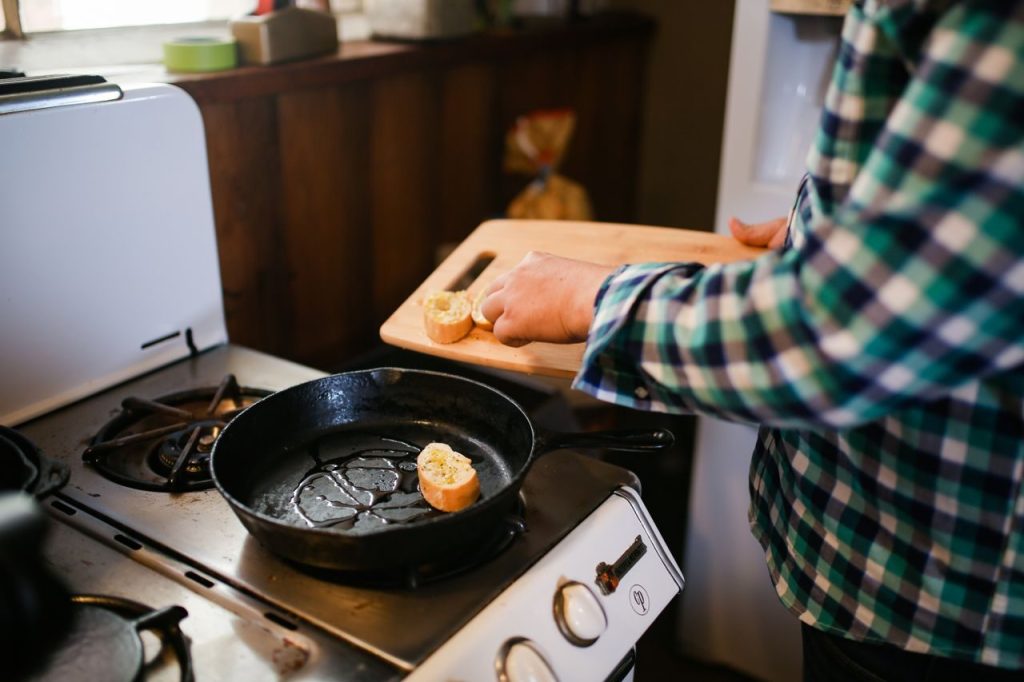
Observe the first two minutes after the change. If the contents near the centre begin to simmer while the outer centimetres of the base remain cooler, increase one step and wait another minute. Repeat until the liquid moves evenly across the base. The adjustment is specific to each zone and pan combination rather than a fixed rule.
Preheating time differences by size
A larger base spreads the same wattage over more area, so the time to reach a usable temperature lengthens. A 20 cm pan on a correctly matched zone reaches frying temperature in roughly the time stated in the hob manual. The identical setting applied to a 14 cm pan on a larger zone requires an extra minute or two because part of the output is not contacting the base.
Do not compensate by selecting a higher number than the recipe indicates. Instead, allow the extra minute at the lower setting that matches the actual contact diameter. This keeps the base temperature within the range the pan manufacturer designed for, avoiding distortion on thinner stainless bases or cracking on cast iron when thermal shock occurs later.
Switching zones mid-recipe
When a recipe moves from a wide sauté pan to a narrow saucepan for reduction, transfer the contents to the correctly sized zone rather than leaving the smaller pan on the original large circle. The hob sensor continues to treat the uncovered portion as active, which can trip the overheat protection on some models after fifteen or twenty minutes.
If only one suitable zone is free, reduce the setting by two steps as soon as the smaller pan is centred. Stir once, then leave the lid off for the first minute so steam does not mask the actual base temperature. Resume the recipe timing only after the simmer or boil rate matches the previous pan.
Using the residual heat indicator safely
Ceramic hobs display an H or residual-heat light until the glass drops below approximately 60 °C. This period can finish a sauce or keep food warm, but only when the pan base fully covers the zone. A smaller pan left on a still-hot large zone receives uneven residual heat, with the centre staying hotter than the edges.
Move the pan to a wooden board or trivet once the indicator appears if the recipe calls for a slow finish. The glass itself retains heat longer than the food requires, so continued contact risks over-reduction or scorching on the contact ring.
Daily checks that prevent recurring problems
Before each use, wipe the zone and the pan base to remove any loose crumbs or film that could create an insulating layer. Even a thin layer alters the sensor reading and forces higher settings than the diameter alone would require.
Keep the hob manual open to the zone specifications for the first week after acquiring a new pan. Note the lowest step that produces the desired simmer or sear for each common size. These notes become the practical reference that replaces trial and error on subsequent days.
Boundary conditions for older hobs
Some ceramic models manufactured before 2015 lack automatic size detection and deliver fixed output across the whole printed circle. On these units the only control is manual power reduction when a smaller pan is used. Test by placing the pan off-centre for ten seconds; if the outer glass remains cooler than the contact area, the hob has no size sensor and requires stricter manual adjustment for every pan change.
Newer hobs with flex-induction or automatic bridging still follow the same diameter principle, though the sensor array can be deactivated zone by zone. Consult the manual for the precise sequence rather than assuming the bridging feature will compensate for an undersized base.
Consistent results come from matching the pan base to the active sensor area and then selecting the power step that produces the required rate of bubble formation or surface browning. Once the pattern is established for the pans in daily use, heat control on ceramic hobs becomes repeatable without repeated adjustment.