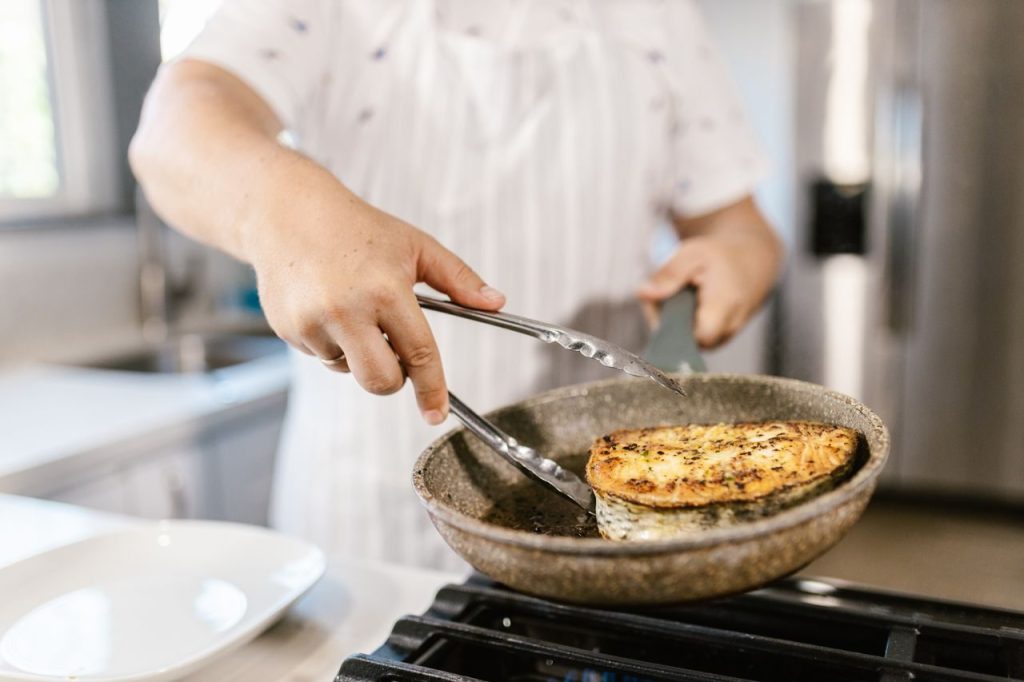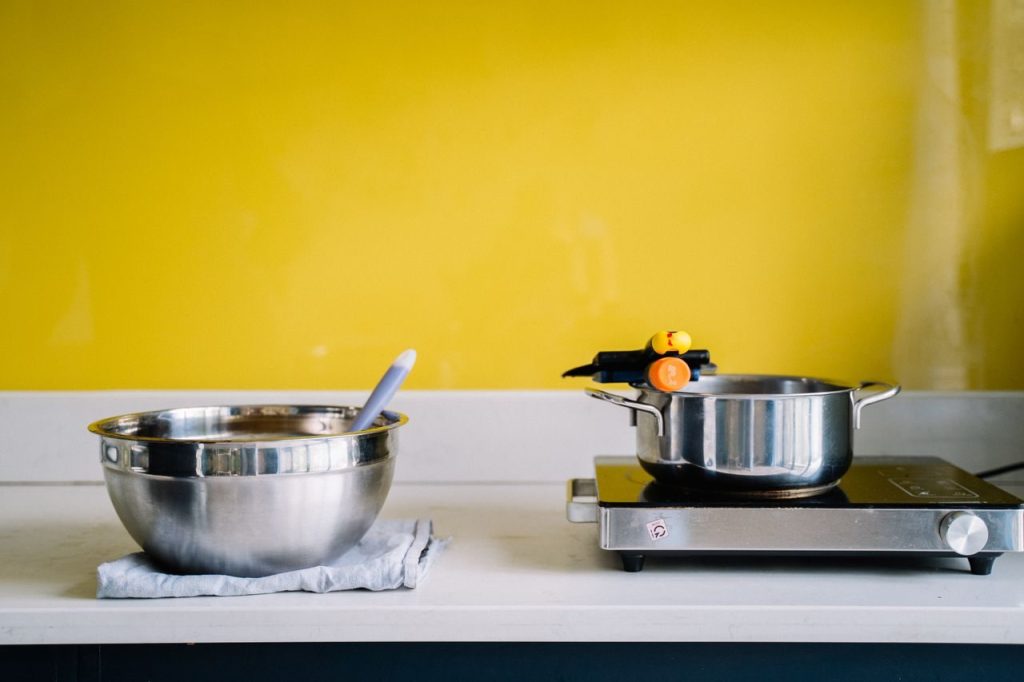
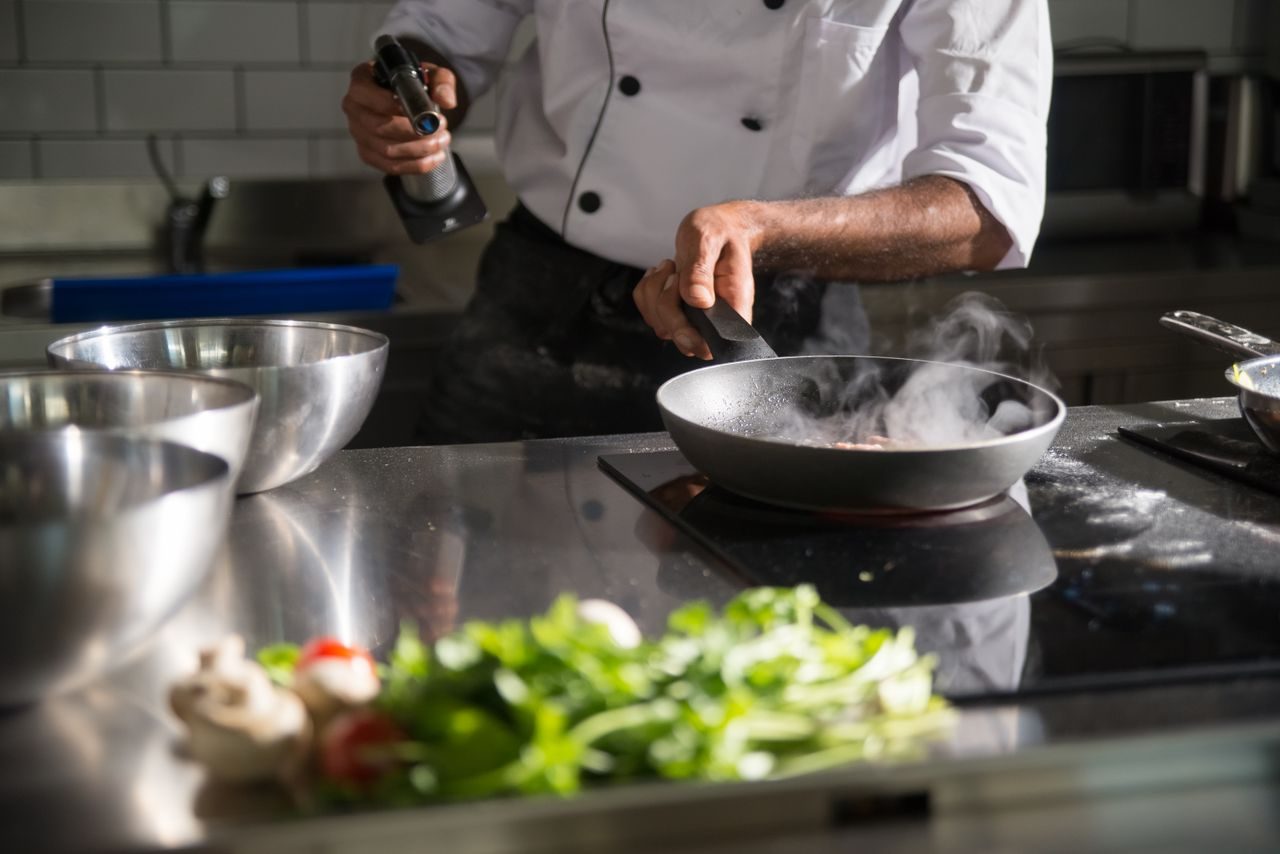
Selecting the right pan size for the cooking zone prevents wasted energy and uneven cooking. Many home cooks place a small saucepan on a large ring or vice versa, which leads to hot spots or slow heating. Checking the base diameter against the marked zone on the hob before switching on avoids these issues from the first step. The flat contact area determines how effectively heat moves from the source into the food, and mismatched sizes create temperature gradients that affect cooking times and texture.
Compatibility starts with the material of the pan base and the hob type. Gas burners work with almost any flat base, yet induction requires ferrous metal that activates the magnetic field. Ceramic hobs need smooth, flat bases to maintain contact. Reading the appliance manual gives the exact limits for each surface without guesswork. Once the correct match is identified, daily heat adjustments become more predictable because the energy transfer remains consistent across repeated uses.
Checking compatibility before first use
Turn the pan over and measure the flat base area that touches the hob. Compare this measurement to the smallest and largest zones available. A base that covers at least two-thirds of the marked ring usually provides steady heat without overhang that can damage ceramic surfaces. Manufacturers often stamp recommended diameters on the underside or include them in the product documentation, so cross-reference these figures before placing the pan on heat. If the base is slightly smaller than the zone, the outer ring may stay cooler, slowing the overall process and requiring longer preheating times.
Hold a fridge magnet to the base. Strong attraction confirms induction compatibility. Weak or no pull means the pan will not work on induction and may sit unused. Manufacturers list this requirement in the care section of the manual, so consult it rather than testing by trial. For ceramic and gas hobs the same measurement check applies, but the priority shifts to flatness rather than magnetism. Warped bases lose contact on flat zones and create hot spots even when the diameter matches the ring.
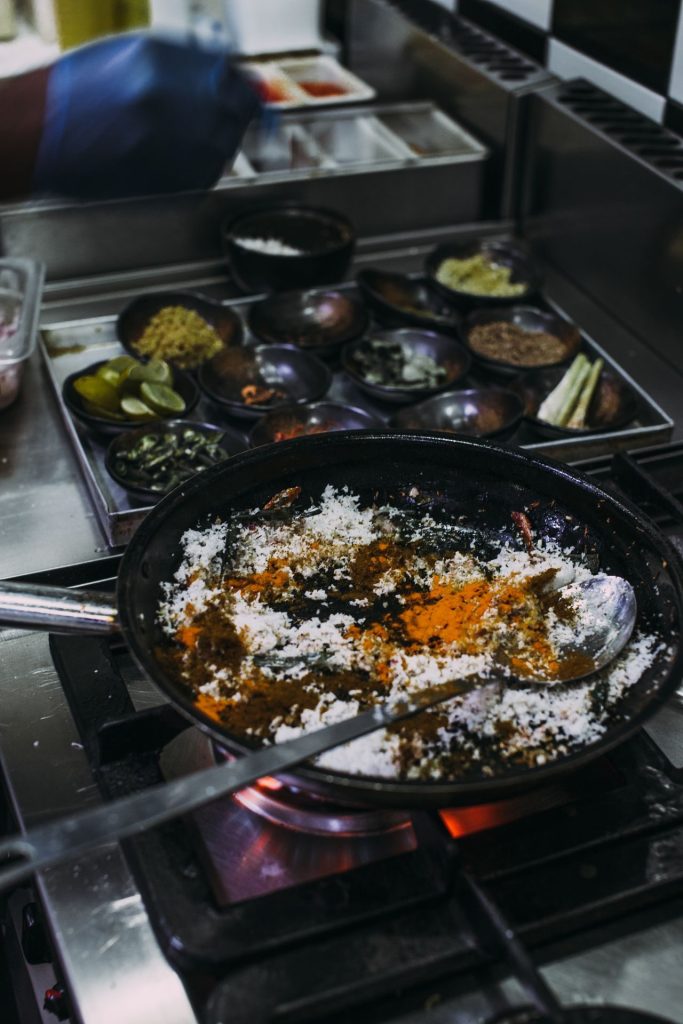
Setting initial heat levels on gas hobs
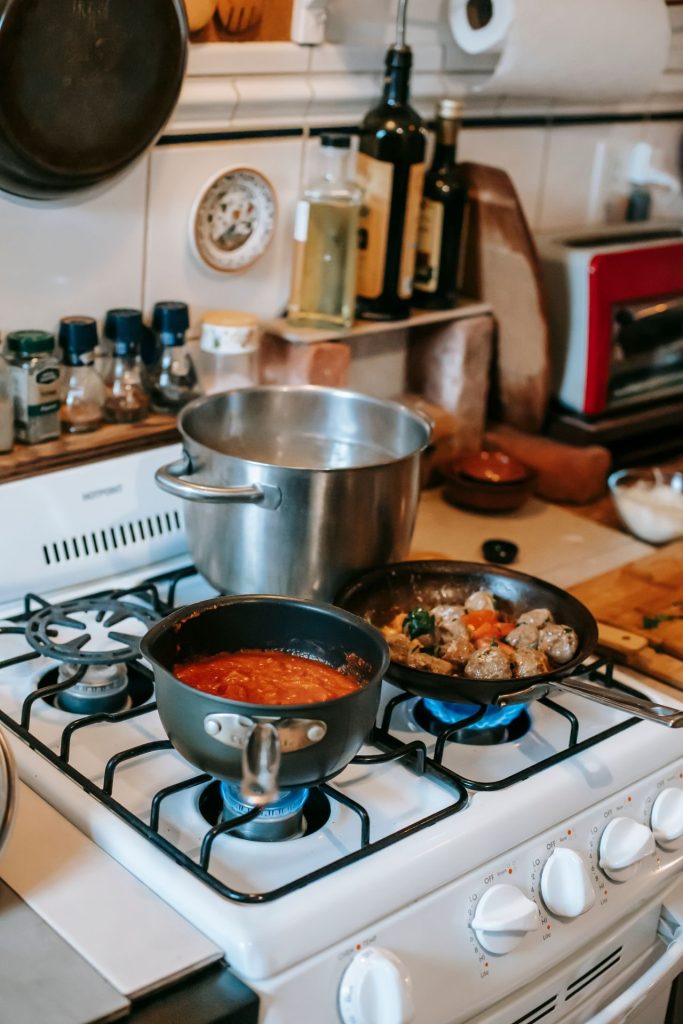
Light the burner and set the flame to medium before placing the pan. Adjust once the base has warmed for thirty seconds so the flame stays under the base edges. A flame that licks up the sides wastes gas and can overheat handles or non-stick coatings. Observe the colour of the flame itself; a steady blue indicates efficient combustion, while yellow tips suggest the need for a lower setting or cleaning of the burner ports to restore even output.
Watch the liquid or fat in the pan. Small bubbles forming slowly indicate a gentle simmer suitable for sauces. Larger, rapid bubbles signal a rolling boil best kept for pasta water. Turning the knob in small increments prevents overshooting the target temperature. On windy days or in kitchens with strong extraction fans, the flame may behave differently, so recheck the setting after the first few minutes rather than assuming the initial adjustment will hold throughout the cooking period.
Managing ceramic hob controls
Ceramic surfaces retain heat after the element is switched off. Start sauces on setting 4 or 5, then reduce to 2 or 3 once the contents reach temperature. This habit prevents scorching on the base while still finishing the dish using residual warmth. The glass surface itself acts as a heat reservoir, so the same setting number can produce different results depending on whether the hob has been in continuous use or started from cold.
Never slide pans across the surface. Lift and place them instead. Dragging can leave scratches that later affect heat transfer. Wipe any spills immediately with a damp cloth once the zone has cooled to a safe touch temperature. Persistent sugar or starch residues become harder to remove if allowed to cool and harden, and they can create permanent marks that interfere with even contact on subsequent uses.
Induction heat response and adjustments
Induction transfers energy directly to the pan, so temperatures rise faster than on other hobs. Begin sauces at setting 3 or 4 rather than the higher numbers used on gas. Stir early and often because the base heats uniformly and can stick within seconds if left unattended. The response time is measured in seconds rather than minutes, which means small changes to the control produce noticeable effects almost immediately.
Many induction models offer precise 1–9 or 1–14 scales. Note the number that maintains a steady simmer for your usual saucepan size. Recording these settings in a kitchen notebook removes repeated trial and error on subsequent days. When using larger pans that cover two zones, activate both if the model permits, but reduce each setting slightly to avoid overheating the outer edges where contact may be less complete.
Switching between hob types mid-week
Keep a simple reference card listing typical settings for each hob in the kitchen. A medium simmer on gas might equate to setting 3 on induction and setting 4 on ceramic. Testing one familiar recipe across surfaces establishes these equivalents quickly. The card serves as a starting point rather than a fixed rule, because pan material, volume of food and ambient kitchen temperature all influence the final adjustment required.
When moving a stainless pan from gas to induction, lower the target setting by one or two points. The direct energy transfer means the same visual simmer occurs at reduced power. Re-check the base contact after each move, because warped bases lose efficiency on flat zones. Cast iron retains heat longer on any surface, so allow extra time for cooling before switching from induction to ceramic to avoid carrying over excess temperature into the next step.
Common daily errors and corrections
Placing a cold pan on a hot zone can cause thermal shock on some materials. Allow the pan to reach room temperature or warm it gradually on low for one minute first. This step protects enamel coatings and prevents warping on disc-base pans. The same principle applies in reverse when moving a hot pan to a cooler surface; sudden temperature drops can crack cast iron or loosen bonded layers in clad construction.
Overfilling reduces effective heat transfer because the liquid level sits above the zone diameter. Fill saucepans only to the point where the contents stay within the base contact area. Adding ingredients in stages keeps the temperature stable without repeated high-power bursts. Ending the session by switching off the hob one minute early uses residual heat to finish reductions or keep food warm. This practice saves energy and avoids the need for a separate warming drawer on most days. Store pans with their correct lids nearby so the right diameter is always paired with the matching zone. Consistent pairing reduces last-minute mismatches that lead to uneven results or extended cooking times.