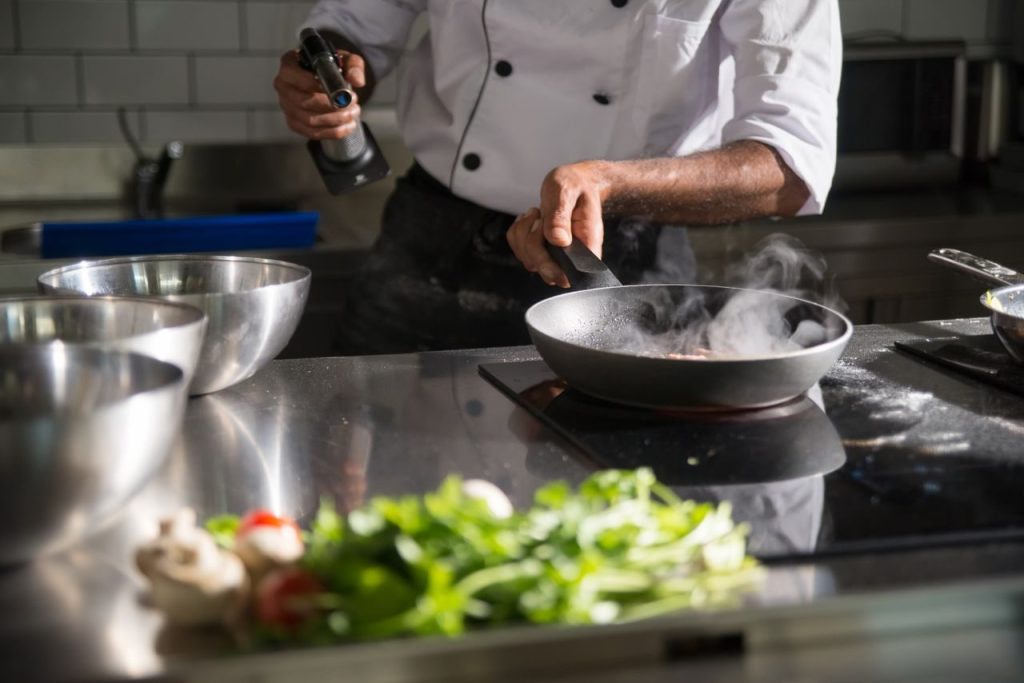

Many new users notice uneven cooking results on ceramic hobs because the pan base does not maintain full contact with the surface. A simple visual and tactile check before switching the hob on prevents most of these issues and keeps heat distribution steady throughout a session. The process relies on manufacturer instructions rather than guesswork, and it applies to everyday routines such as simmering sauces or frying vegetables where consistent temperature matters.
Users who skip these steps often find that one side of the pan heats faster than the other, leading to longer cooking times or the need to stir more frequently. Confirming contact first reduces the chance of hot spots forming on the ceramic itself. The checks described below draw directly from typical appliance and cookware manuals that state flatness tolerances and zone sizes.
Reading the hob and pan manuals for contact requirements
Appliance manuals specify the maximum allowable warp for each zone, usually expressed as a tolerance in millimetres. Compare this figure with the pan manufacturer’s stated base flatness limit before first use. When the two numbers align, the combination is considered compatible for routine cooking. Manuals also note that certain materials expand differently under heat, so the cold-state measurement serves as the starting reference point. Checking both documents avoids pairing a slightly domed base with a zone that demands near-perfect flatness, a mismatch that becomes noticeable only after several minutes of heating.
Some manuals also list recommended minimum base diameters for each zone. Measuring the actual contact area with a ruler confirms whether the pan meets the requirement without relying on visual estimates alone. This step proves especially useful when the hob has zones of different sizes, because a pan that sits correctly on a larger ring may leave part of a smaller ring uncovered. The comparison takes only a minute yet prevents repeated repositioning later in the meal. Manuals from established manufacturers present these limits as hard boundaries rather than suggestions, so treating them as such keeps both the hob surface and the pan base in good condition over repeated daily use.
Performing a cold fit test
Place the empty pan on the chosen zone and press gently at three points around the rim. The base should remain motionless under light pressure. Repeat the test after the pan has been washed and dried, because temperature changes during cleaning can temporarily alter base shape. A stable result on three attempts indicates the pan is ready for the next stage. If any movement occurs, note whether it happens only on one side, which may point to an uneven cupboard shelf rather than a manufacturing issue with the pan itself.
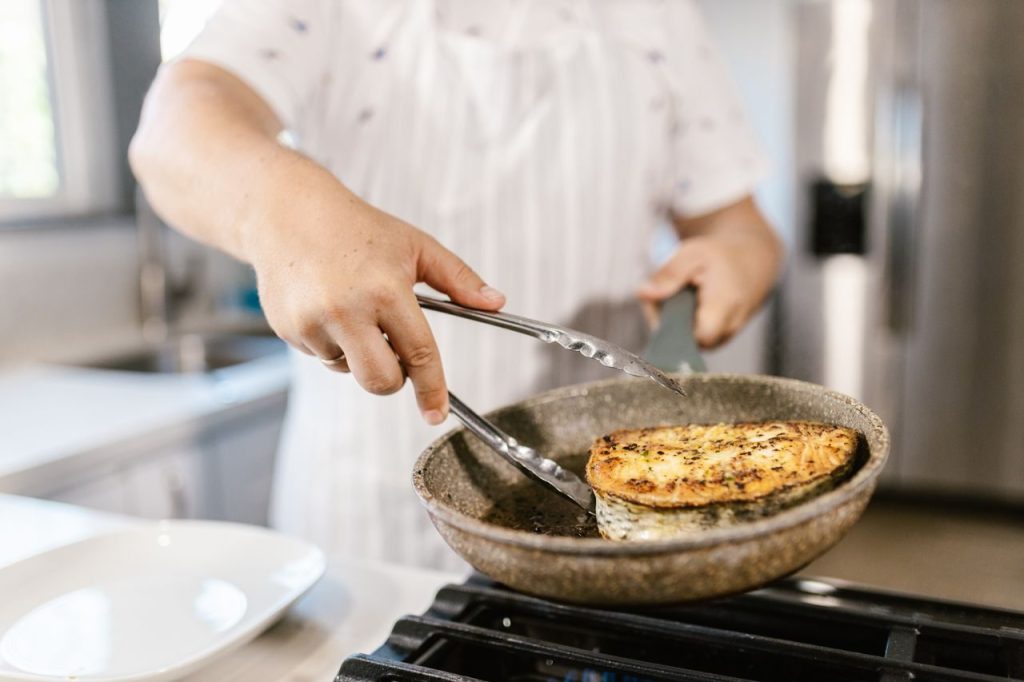
If movement persists, rotate the pan 90 degrees and test again. Consistent rocking in every position points to a base issue rather than a zone defect. In such cases the manual usually advises against forcing the pan into service on that zone, because continued use accelerates wear on the ceramic coating. The cold fit test therefore serves as an early filter that saves time and prevents minor problems from becoming permanent. It applies equally to stainless, cast iron and aluminium bases provided the user follows the temperature limits stated by each manufacturer.
Setting the first heat level
Begin with the lowest setting that produces visible heat shimmer within 30 seconds. This starting point allows gradual expansion of both the hob surface and the pan base, reducing the chance of sudden gaps forming once food is added. Ceramic hobs respond more slowly than gas, so the initial low setting gives the materials time to settle together. Users who start at medium or higher often see the pan lift slightly as the base expands unevenly, creating the very contact problem they hoped to avoid.
Observe the area immediately surrounding the pan. A faint ring of colour change on the ceramic indicates the zone is responding; a dark ring that stops short of the pan edge suggests the base is not covering the active area fully. The colour shift appears within the first minute on most models and provides an immediate visual cue before any food is introduced. Adjusting the setting at this stage keeps the entire process within the operating parameters given in the hob manual, avoiding unnecessary cycling of the heating elements.
Adding ingredients and monitoring response
Place ingredients in the centre first, then spread them outward once the base has reached temperature. This sequence keeps the contact area loaded evenly and prevents the pan from tilting as weight is introduced. Adding cold ingredients directly to the edges can create a temperature gradient that pulls the base away from the ceramic in spots. The centre-first method therefore maintains the flatness established during the cold test through the first minutes of cooking.
Watch the hob display or indicator light for any automatic power reduction. Ceramic hobs often limit output when they detect uneven load; adjusting the pan position slightly while the hob is still cool can restore full power without raising the setting. The display change usually occurs within two minutes of adding food. Recognising the pattern early allows the cook to correct placement before the recipe reaches a stage where stirring or turning becomes inconvenient. The same monitoring applies whether the ingredients are vegetables, meat or a liquid sauce, because each changes the thermal mass resting on the base.
Adjusting mid-cook without lifting the pan
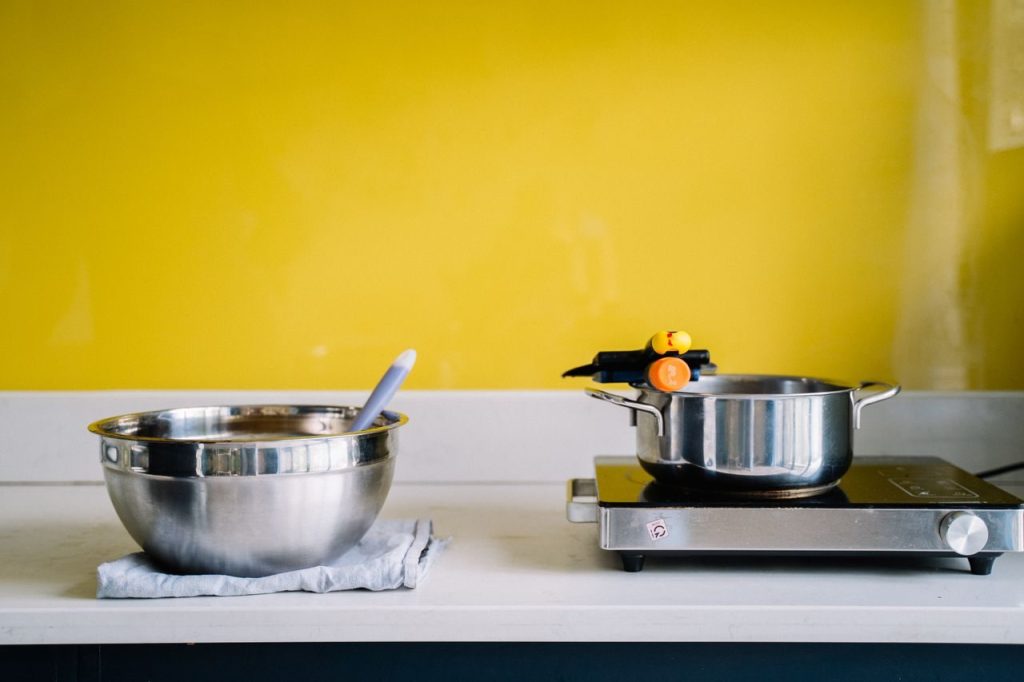
Slide the pan a few millimetres rather than lifting it. Lifting breaks contact and allows cooler air underneath, which lengthens recovery time. Small lateral shifts keep the base seated while redistributing heat to cooler spots. Most ceramic surfaces tolerate gentle sliding when the hob is already warm, provided the movement stays within the marked zone boundary. The technique proves useful during long simmers when the liquid level drops and the weight distribution changes.
If the recipe requires a lower temperature after the initial sear, reduce the setting by one increment and wait 60 seconds before checking again. Rapid reductions can cause the ceramic to cool faster than the pan base, creating temporary separation. The waiting interval lets both surfaces equalise again. This measured approach appears in many hob manuals as the preferred way to manage multi-stage dishes without repeated on-off cycles that shorten element life. It works for both induction-ready and standard ceramic zones once the initial contact has been verified.
Recognising when contact is lost during use
Steam or condensation appearing around the base edge signals that heat is escaping instead of transferring into the food. At this point, lower the setting and allow the assembly to stabilise before continuing. The visible moisture forms because the gap traps steam that would otherwise escape upward. Noticing the ring early prevents the food from cooking unevenly on one side while the other remains cooler.
Persistent hot spots visible as darker patches on the ceramic after the pan is removed indicate the base was not fully seated. Note the pan and zone combination so the same pairing can be avoided or corrected with a different heat routine next time. The patches usually fade once the surface cools, yet repeated occurrences can leave faint marks if the hob is used daily. Recording which pans perform reliably on which zones builds a short personal reference that speeds future meal preparation without additional testing each evening.
Finishing and cooling sequence
Turn the hob off one or two minutes before the food is ready. Residual heat in the ceramic continues to cook while the pan base remains in full contact, avoiding the temperature spike that occurs when a hot pan is left on a still-active zone. The timing varies with the quantity of food, but manuals generally suggest finishing on residual heat once the contents reach a steady simmer or gentle fry. This practice also reduces the total energy drawn during the session.
Once the hob display shows the surface has cooled, lift the pan straight up rather than sliding it. This prevents fine scratches that could later affect flatness on subsequent uses. Straight lifting also avoids dragging any food residue across the ceramic, which might otherwise create small high spots that interfere with future contact tests. After the pan is removed, a quick wipe of the zone removes any stray particles before the next cooking session begins.